
I might have mentioned here (a few thousand times) that I take a lot of pictures. One of the reasons I do this is because I take many pictures that are intended to be part of a panorama, many pictures stitched together by software to make one huge, wide picture. The individual pictures may not be anything to write home about, but put them all together and you’ve got something great.
I first started playing around with this in 2003 on a trip to Toronto (Worldcon!) and Niagra Falls. This is how I got some clues as to what works and what doesn’t, so I’ll share.
First, take two pictures, left and right, with some overlap between the right edge of the left picture and the left edge of the right picture. These are pictures of downtown Toronto, taken from the CN Tower observation deck.
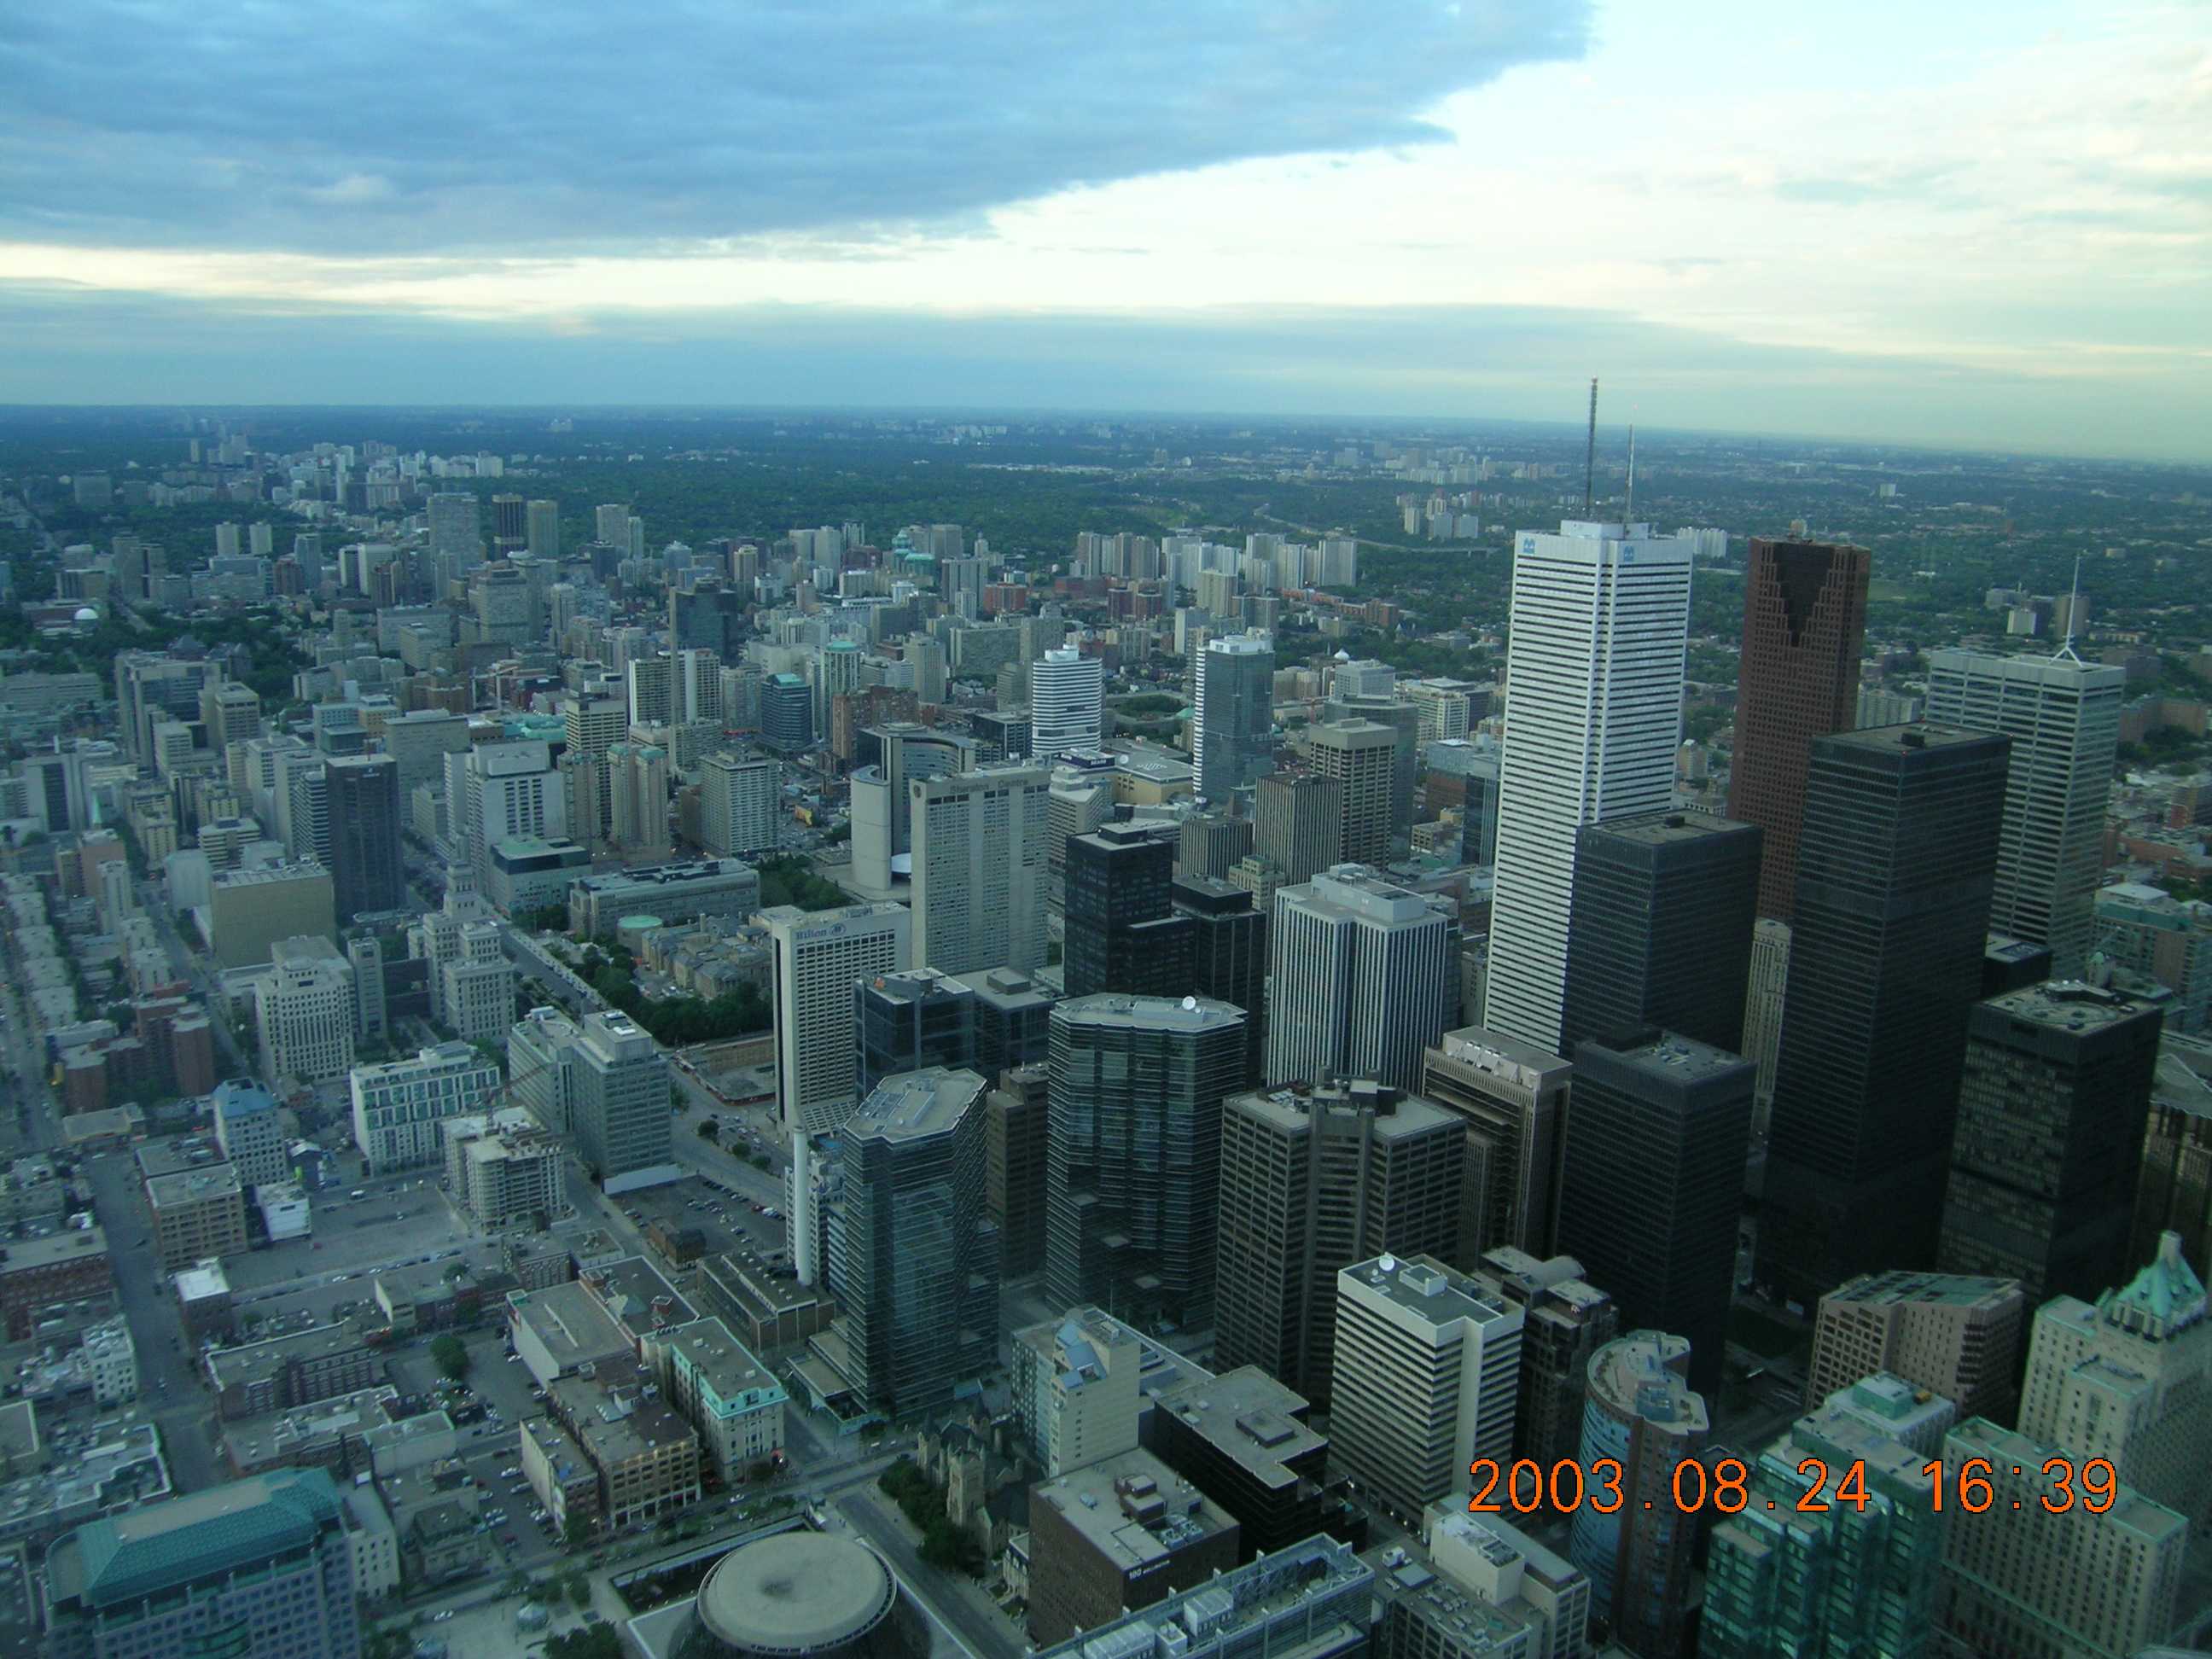
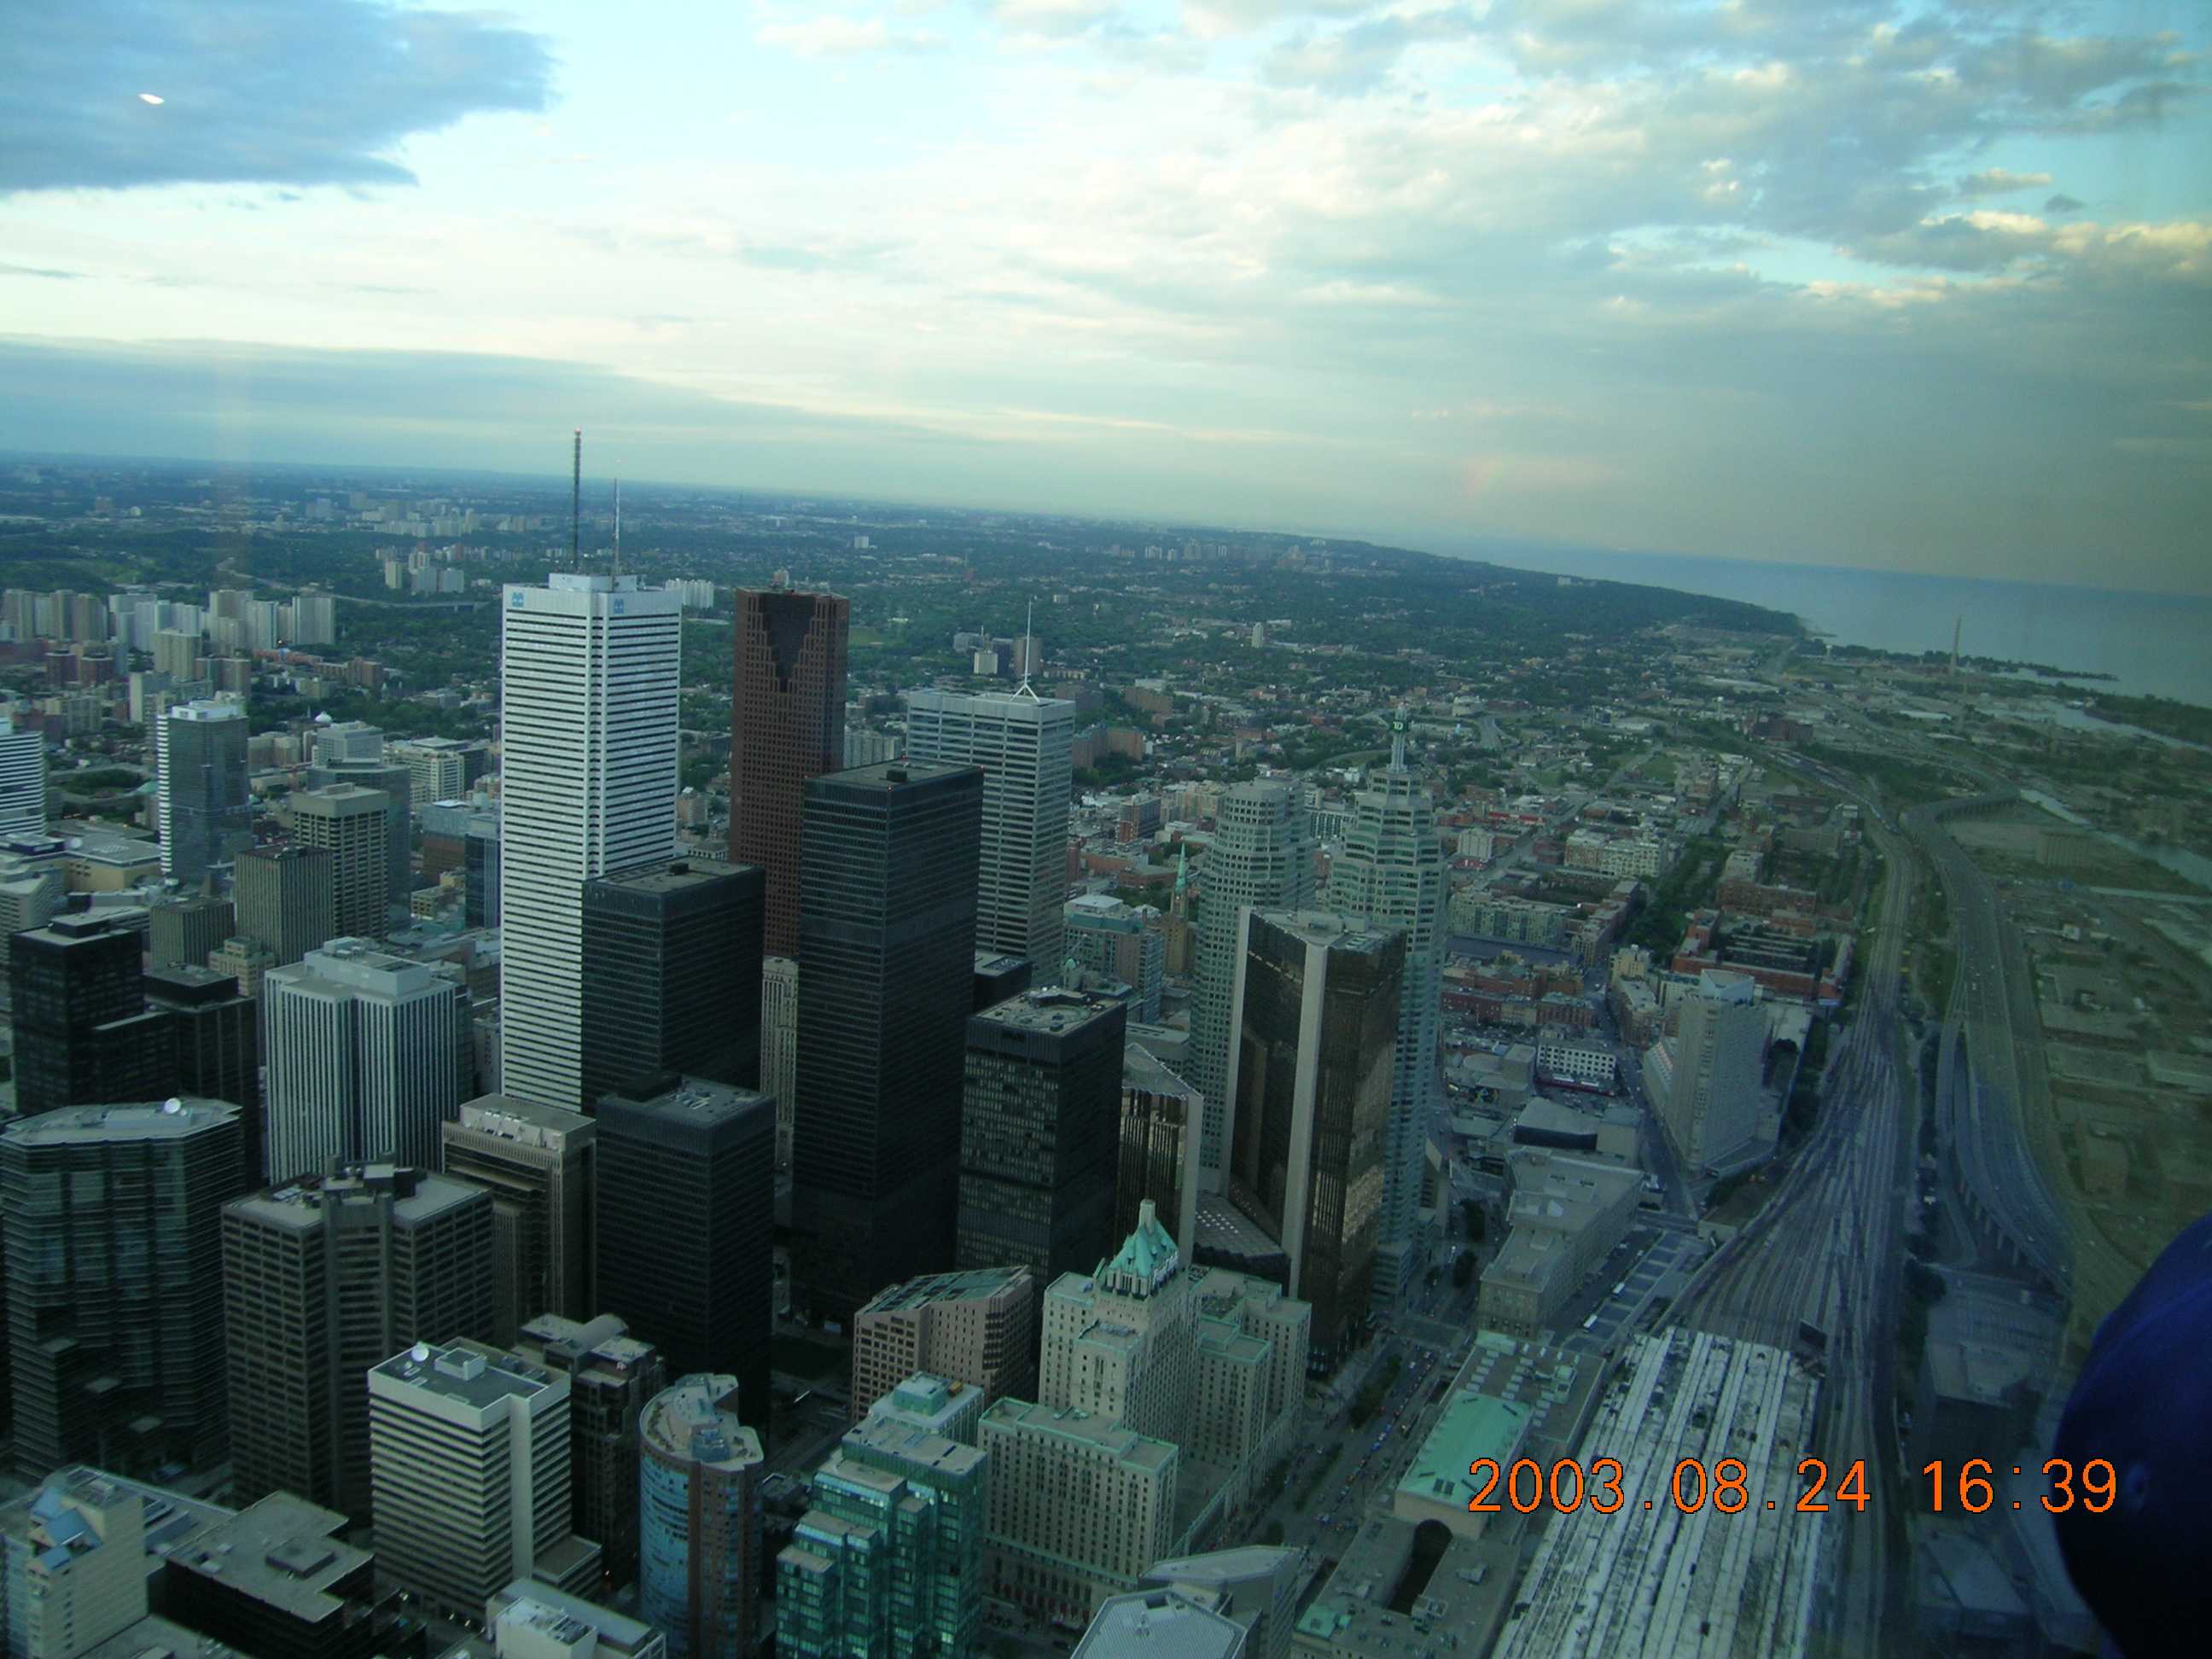
See how the pictures overlap? Do your best to keep the pictures as level horizontally as you can. If you’ve got a tripod, that’s even better, but it’s not necessary. (About 99% of what you’ll see from me was shot without a tripod.)
Now let your software go at it. I don’t have a clue what I was using in 2003 (probably a much earlier version of what I’m using now) but these days I use The Panorama Factory from Smoky City Design. I’m sure there are other great programs for stitching images together into a panorama, but I’ve gotten really good results so far from Panorama Factory.
Running the program, you import the images you want to use. Line them up in order from left to right, flip them over, flip them from landscape to portrait orientation, whatever you need to do. When you’re ready, start the stitching process.
The program will find points on the right side of the first picture and start matching them to similar/identical points on the left side of the second picture. For example, above I’ve got about a 50% overlap, so it’s easy to see where each of the skyscrapers on the left side of the second picture can be matched up with their image on the right side of the first. Got it?

The first lesson is obvious. Turn off the date & time stamp on the camera! (For the record, in 2003 I was still using a 5 megapixel point & shoot camera. I didn’t get my first DSLR until late 2005.) The two original pictures were each 2592 x 1944 pixels (5.0 megapixels). The combined picture is 3553 x 1728 pixels (6.1 megapixels).
You can see how the two images have been combined. In this case, in some instances where they’re matching (in particular, look at one or two of the buildings at the bottom, right in the center) the software won’t make an exact match, so you’ll see ghost images from both frames. This comes from the 3D geometry of what’s being manipulated digitally. Especially if you’re not using a tripod, there will be tiny, subtle differences in the relationships between points in your pictures. These are caused by the camera being tilted slightly differently, being rotated slightly differently, and any distortions in your lens or imaging system being in a different place on the picture.
The software will do its best to match up points, and then warp the two images so they fit together better. The 2003 version of the software did an OK job — the 2011 (current) version does a fantastic job.
What if we use more than two pictures?
Obviously, if we take more pictures using the landscape orientation, we’ll get an image that’s about the same height but much wider, up to a full 360 degrees. The problem with doing that is that you really need to take all of the pictures from the exact same spot. (Tripod, anyone?) In an instance like this one where we were in the CN Tower observation deck, the only way to see all 360 degrees was to walk around the deck. But you’ll never get a usable panorama since there’s so much variation between frame edges every time you take a couple of steps around the deck. I do 360 degree panoramas all the time (trust me, you’ll be stuck seeing them here sooner or later) but they’re always from a spot, such as in a valley or in a fire tower, where you can literally stand in one spot, rotate without moving laterally, and still get images of the full 360 degrees. (If this is all gobbledygook, don’t worry, I’ll show examples later.) (And why is “gobbledygook” not flagged as a misspelled word? You mean it’s in the dictionary?!)
The other option for taking more than one picture is to rotate the camera and take a series of pictures using a portrait orientation. This means that you’ll need to take more pictures to cover a similar swath of the horizon (the individual pictures are narrower) but the finished panorama will be taller. The ultimate end result will be a panorama that is bigger, with a lot more pixels and detail.

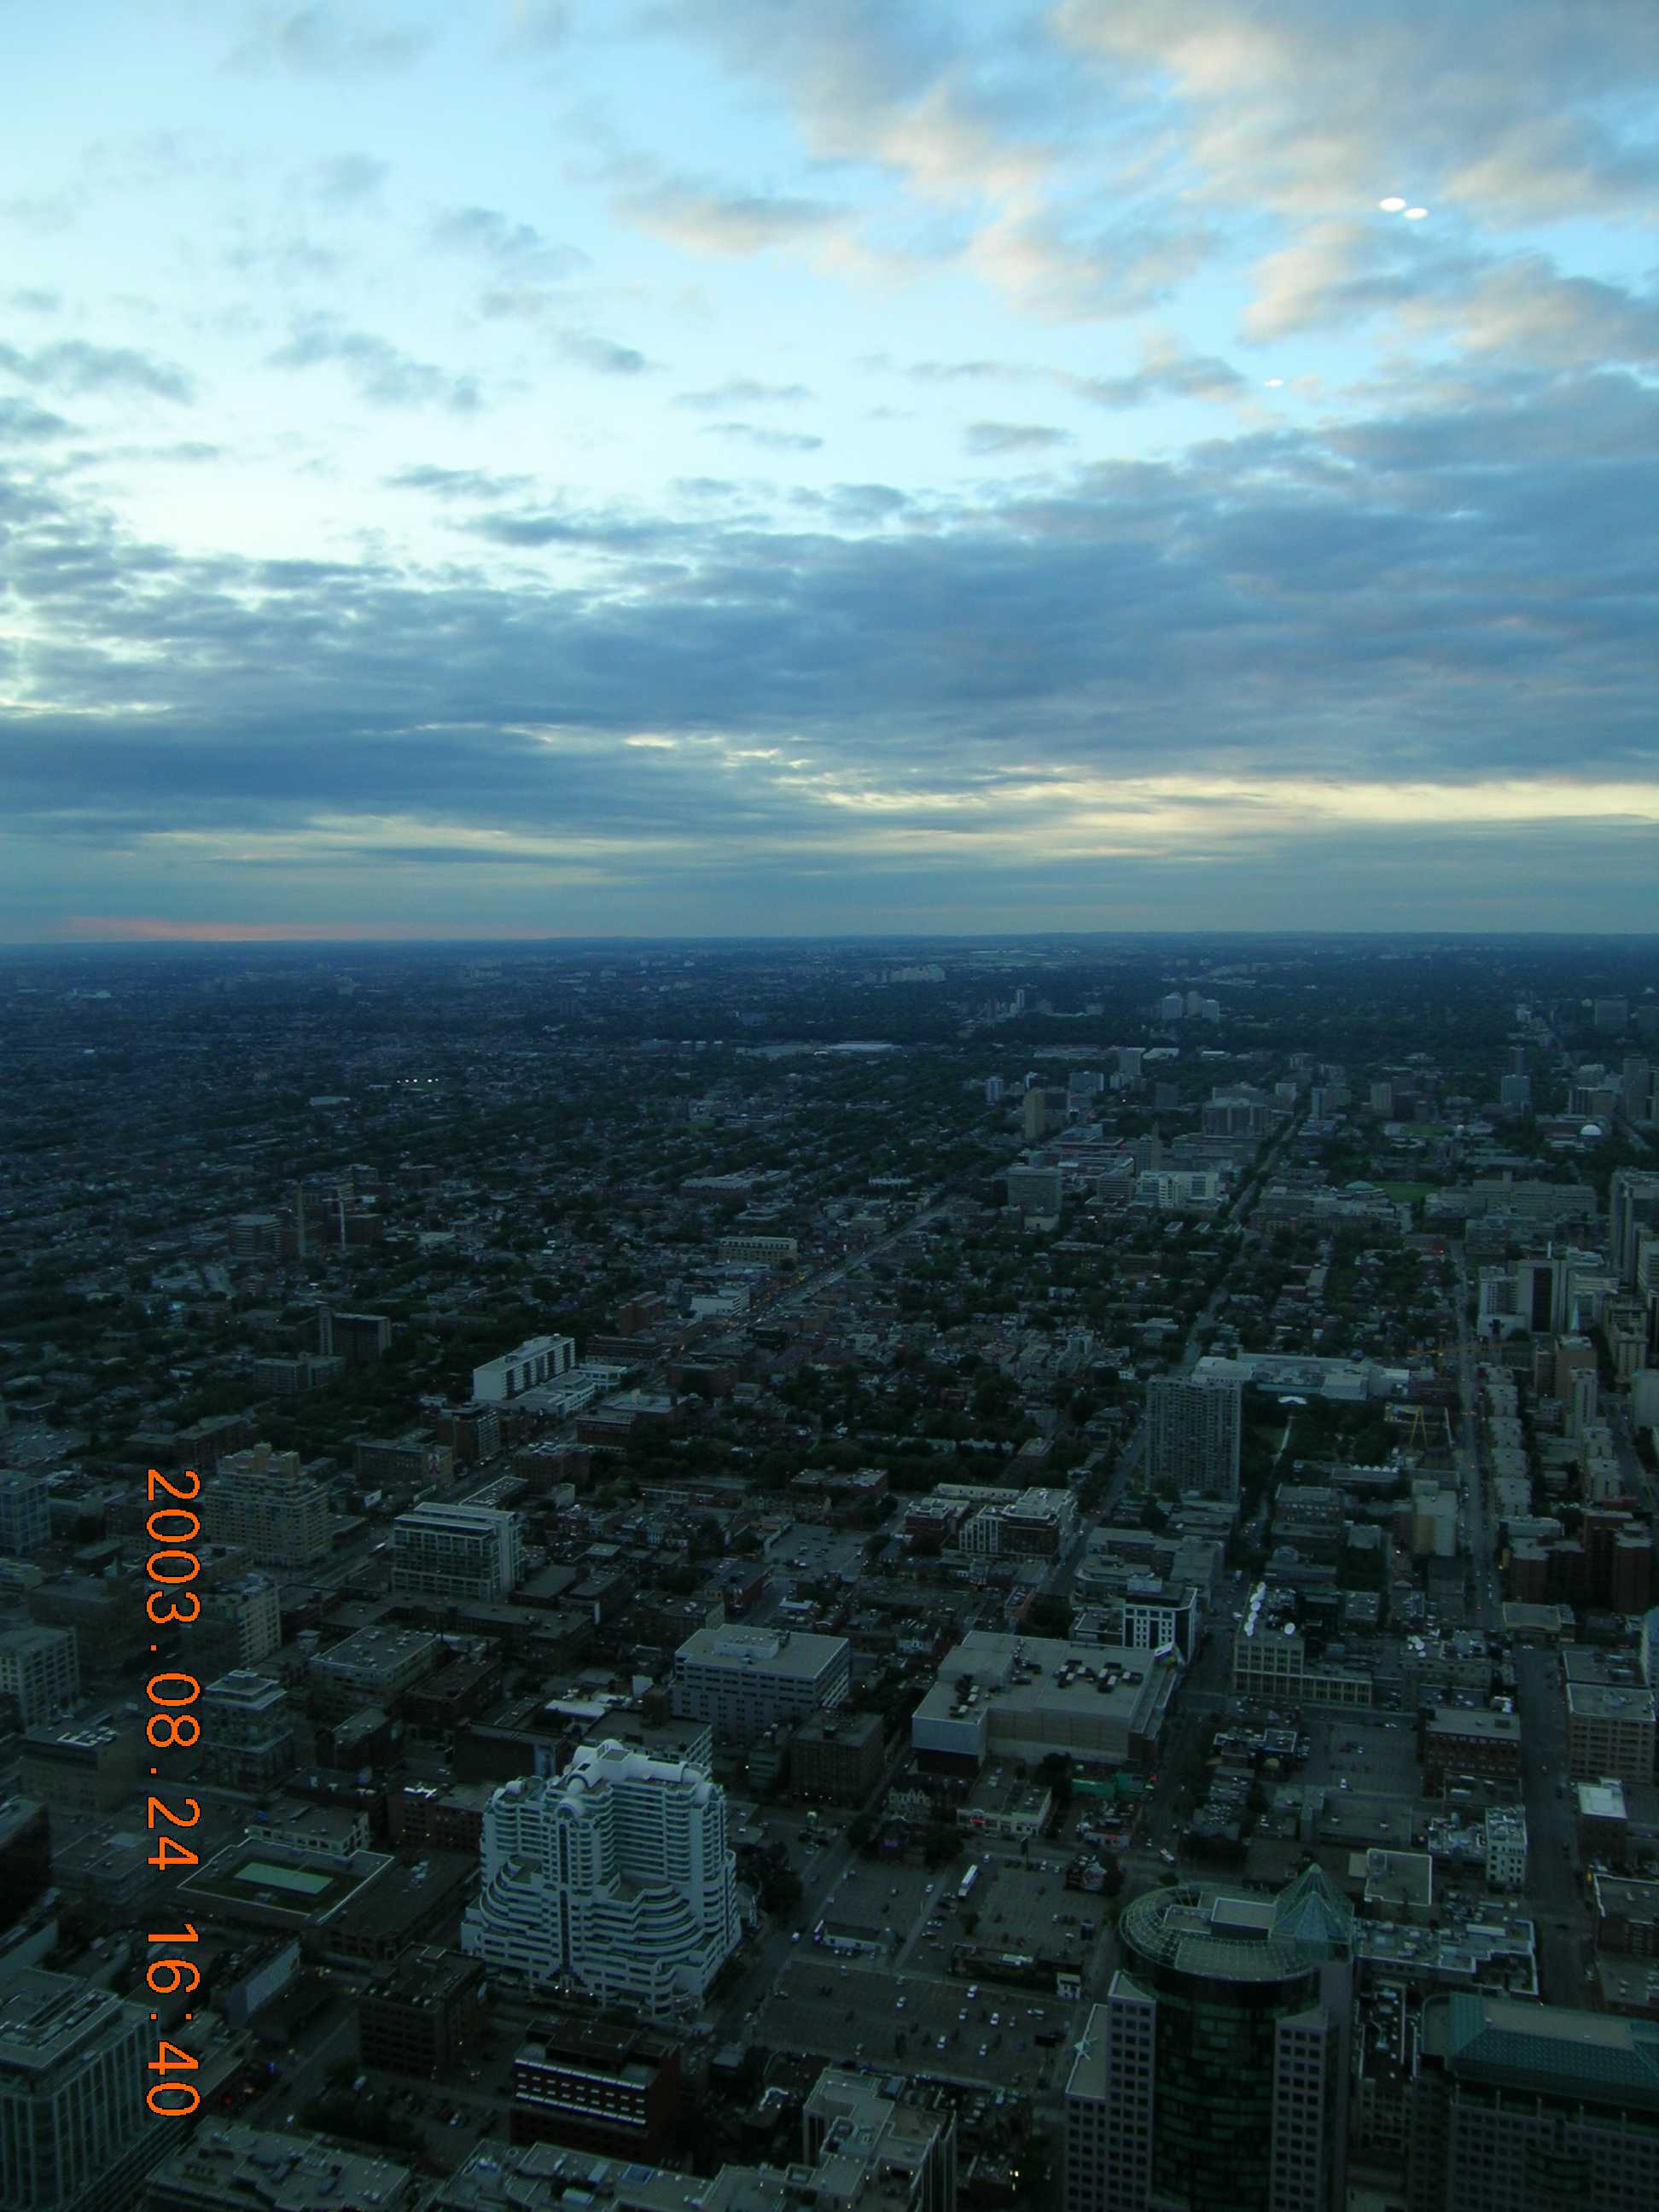
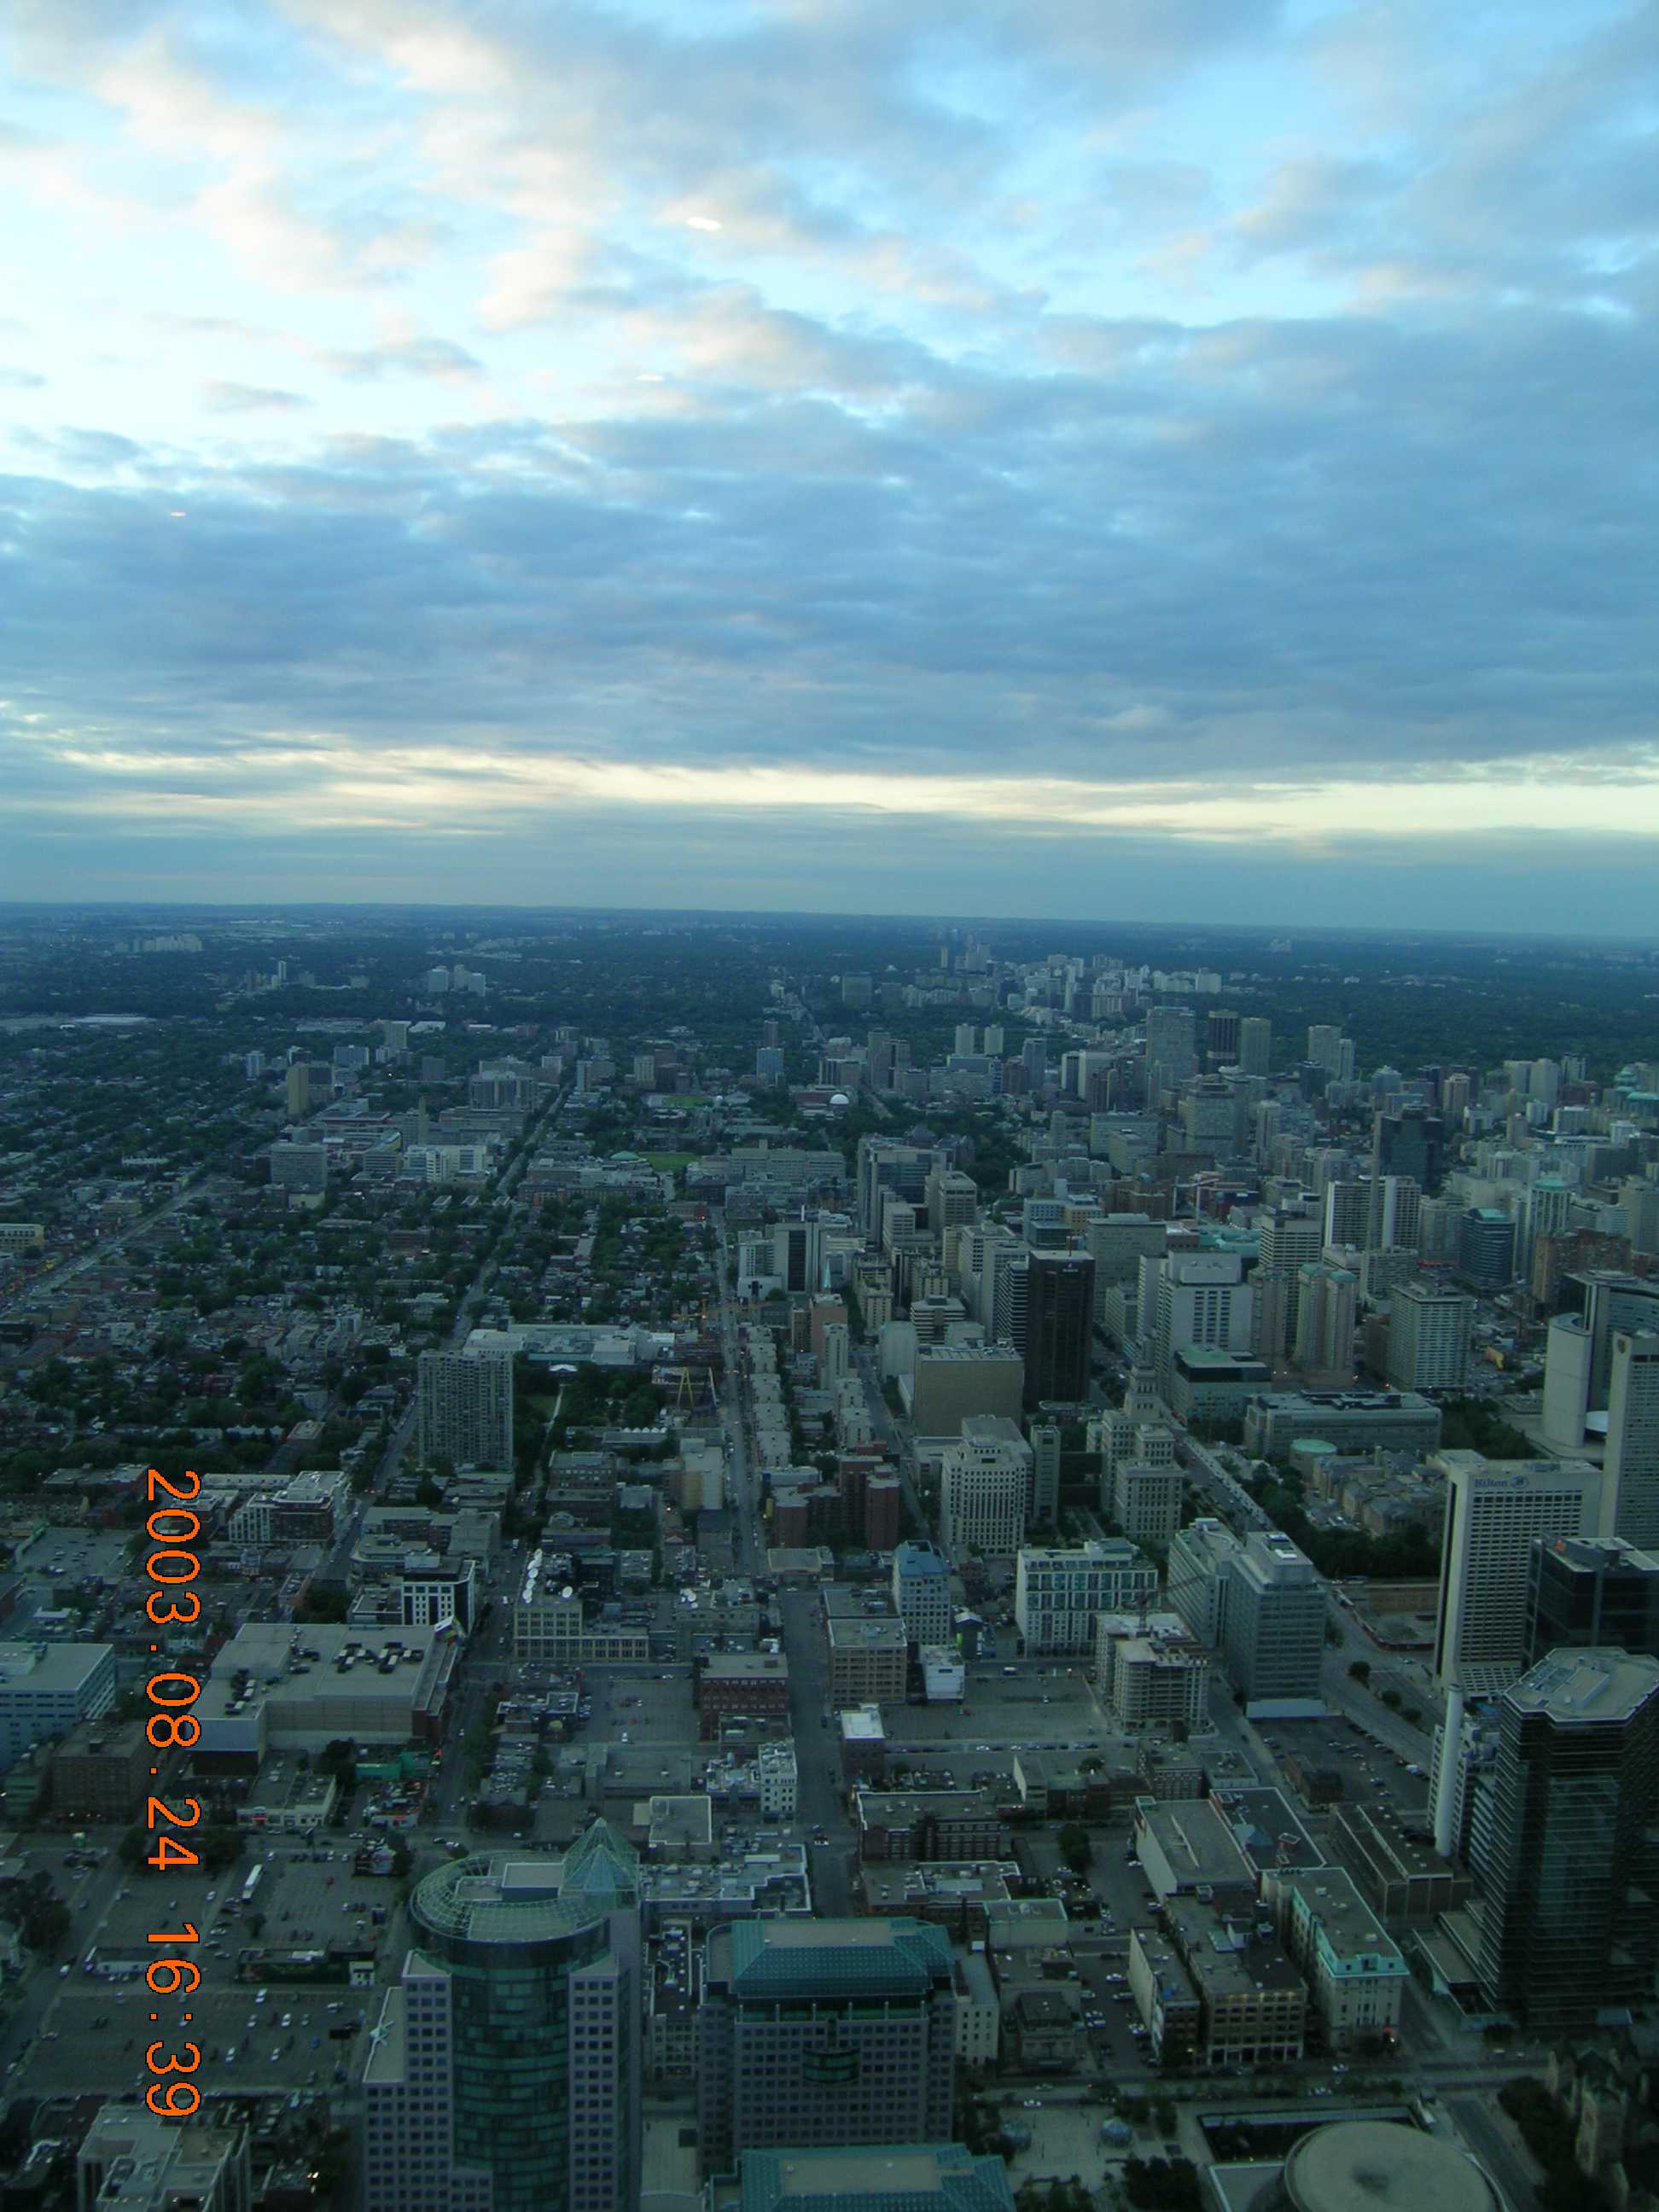


Presto chango!

The five original pictures were each 1944 x 2592 pixels (5.0 megapixels). The combined picture is 6106 x 2285 pixels (13.9 megapixels). (Remember to click on the picture to see it full screen.) Now we’re talking!
There’s still a bit of mismatch at the bottom where each of the “seams” is, and I still have to turn off those stupid date stamps. But as happy as I was with this, I’m just warming up.
More tomorrow. (Or the next day…)

Pingback: Panoramic Photography (#1)