
Yesterday I wrote about some simple astrophotography techniques for using common DSLR equipment to take pictures of celestial objects, in this case the setting moon and Comet Pan-STARRS on March 12, 2013.
What else can that kind of common equipment do? We know that there are some truly spectacular pictures that can be taken and even actual astronomical research that can be done (hunting for new comets, asteroids, and supernovae, for example) with more elaborate gear costing anywhere from a few hundred dollars to many tens of thousands of dollars. But what about that same simple tripod, DSLR, and maybe a telephoto lens that we were talking about yesterday?
The key is to play with it, try it out, give it a shot, see what happens, make adjustments, try again, repeat as necessary. To repeat yesterday’s key lesson, DIGITAL PHOTOS ARE CHEAP! Fail early, fail fast, fail repeatedly, learn, adjust, go fail some more (and learn some more).
On the day when I took the photos featured in yesterday’s post, what did we see after the moon and Comet Pan-STARRS set below the horizon? We were on our way to Phoenix for a few days of spring training with the Angels and getting hungry, but before I tore everything down and got back on the road, I took the time to take a couple more pictures, just to see what would show up (click on any of the images to enlarge them to full sized):

This picture was taken March 12, 2013 at 19:45 PST using a tripod-mounted Canon Eos Digitial Rebel Xti and a Canon EFS 18-55 mm zoom lens set at 18mm, manually focused. The exposure was 30 seconds at f5.6. What you see is a decent representation of what our dark-adapted eyes were seeing just as dusk was ending and the stars were coming out in their full glory a long way from the nearest big city.
A minute later I tilted the camera up toward Orion, one of the most easily recognizable constellations, and again shot a 30-second exposure:
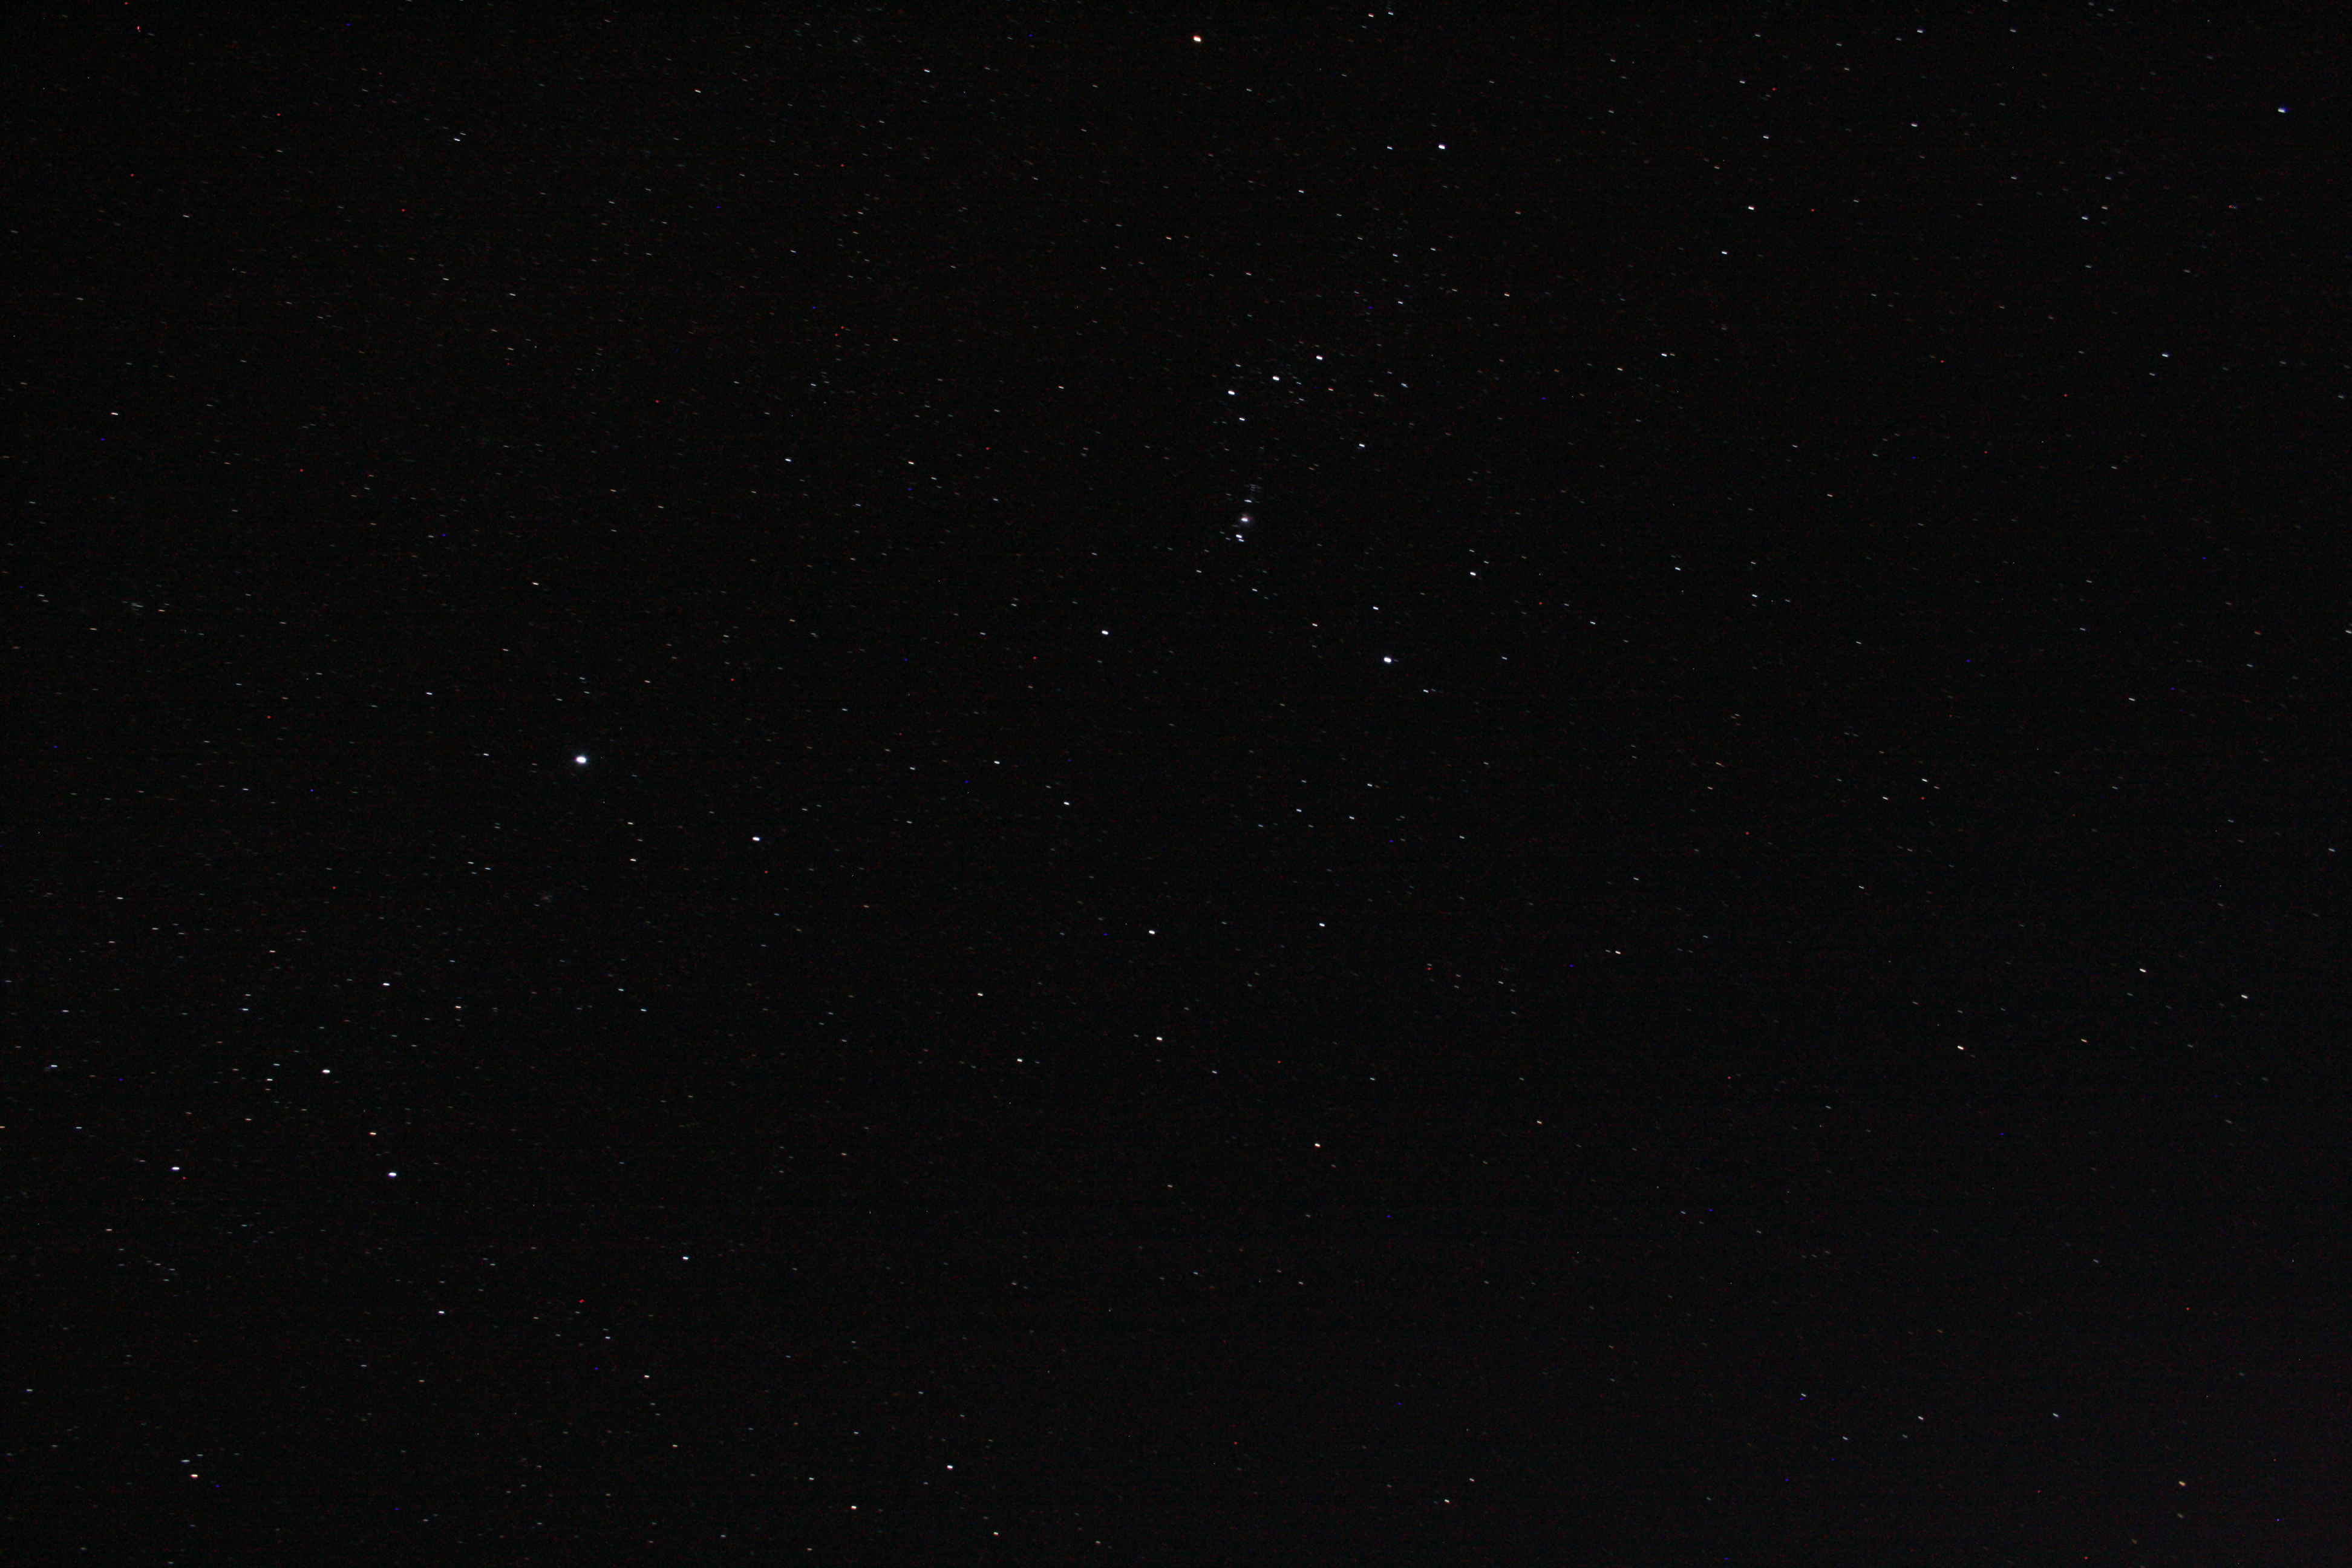
Orion can clearly be seen in the upper center of the image, with Sirius the very bright star in the center-left. In Orion’s sword you can see that the center star of the three is enlarged – this is the Orion Nebula, not a star.
A minute later, a 30-second exposure in the direction of Taurus and the Pleiades:

The Pleiades cluster, with an obvious bluish tint, is at the lower center, with the V-shaped constellation Taurus just a bit above and to the left of it. The bright star at the top left of the “V” is Aldebaran. The bright “star” which looks to be at the top right of the “V” is actually not a star, but the planet Jupiter.
Looking at all three of these pictures I see both amazing detail and annoying imperfections. It’s amazing to me that this level of detail is available in what was simply a quick, toss-away, experimental set of pictures. On the other hand, there is room for improvement. First of all, when seen full sized, all three pictures show the stars not as points but as tiny streaks, lines, or arcs. This is because the camera was fixed and the Earth was moving, and even on a relatively short, 30-second exposure, this motion is apparent. To avoid this we would need to mount the camera on a telescope mount which tracks the stars, moving the camera one way exactly in time as the Earth moves the opposite way. (Not hard to do, but that’s not what this conversation is about. Later we’ll play with this. Promise. Bug me about it if we don’t.)
In detail, all three pictures show some digital artifacts, both subtle lines and bands in the background and red or blue “hot pixels” throughout the image. In fact, if you load all three pictures at once and quickly “blink” back and forth between them, you can see the hot pixels as they always stay the same in each image while the pictures change. These flaws are a product of how the digital images are produced and if you get more serious about digital astrophotography, they can be dealt with. The hot pixels can be mapped and corrected using image processing software such as Adobe Photoshop. The “banding” artifacts come from long, dark exposures when the digital sensor starts to become saturated and display “noise”. More advanced astrophotography generally uses many shorter exposures which lessen this signal noise are then “stacked” (using software) to give a complete picture showing the results of the combined longer exposure times.
But that’s not what we’re talking about doing here — it’s just to let you know that this is a first step and that there’s a lot more that can be done if you wish. For simple starters, this is pretty cool!
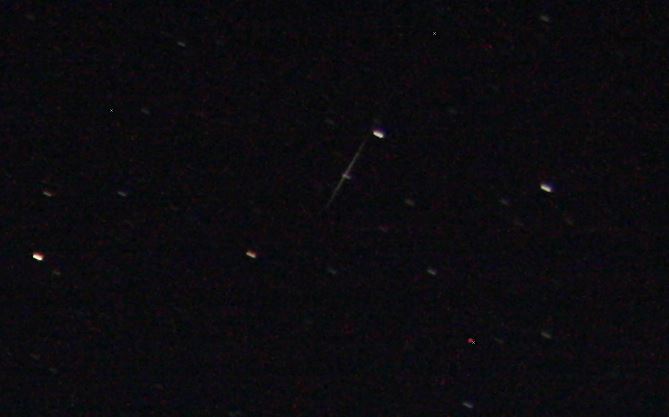
Wait — there was one more thing we had that March night in the Arizona desert. The pictures above were all taken with a 18-55 mm lens, while the moon & comet photos shown yesterday were all taken with a 70-300 mm lens. What if we had used the bigger telephoto lens, say, on Orion? Glad that you asked (you get a gold star):

This is a 15-second exposure taken at 19:42 that evening, showing the three “belt” stars of Orion across the upper right, the “sword” coming down just above the center of the picture, and the two “leg” stars just below center (Saiph just to the left, Rigel to the right). With this image the stars are now showing visible trails or arcs even in the smaller sized image, the magnification of the telephoto lens more than offsetting the shorter exposure time. On the plus side, the Orion Nebula in the middle of the “sword” is clearly showing that it’s not a star but instead a large, glowing cloud of gas.
So these results aren’t bad at all for a “fast & dirty” effort using nothing but the relatively common photography equipment we already had on hand. There are obviously things that can be improved upon (a relatively simple telescope mount will track the stars and eliminate the trailing, for example) but these photos show how you can get a lot of bang for your buck to start. Just try it, see what happens, try it again! You may be pleasantly surprised with the results, and you never know what you might catch a picture of.
For example, click on that first picture up there, the one taken just after dusk. Blow it up big so that you can see all of the detail. Full sized, look way up in the upper right corner.
You can see that all of the stars are “trailed” here a bit, and there’s a lot of detail visible about their varying brightness and colors. But what’s that little white streak? It’s a lot longer and in a different orientation than all of the stars, so it’s not a star. It’s probably not a digital artifact or hot pixel since it doesn’t show up on any of the other pictures. It’s not an airplane since they show up as a series of red & green dots from their blinking anti-collision lights.
Is it a streak from a meteor? Maybe. Or is it a satellite trail? Could be, it was just after sunset, prime time for seeing satellites, although I would think a satellite would make a longer trail on a 30-second exposure. Maybe it wasn’t a low, fast moving satellite but one further out and going slower. Or maybe it’s just a quick flare off of a satellite’s solar panels, like an Iridium flare. If it was a satellite, which one? There are databases of satellite positions and software for calculating when they can be seen from different places & times. We were at about 33 deg 36′ N and 113 deg 38′ W and the tag on the photo says it was taken at 19:45:50 PST on March 12, 2013.
The identification of the satellite (if that’s what it was) is left as an exercise to the reader.

Pingback: Simple Astrophotography (Part Four) | We Love The Stars Too Fondly
Pingback: Intermediate Astrophotography (Part One) | We Love The Stars Too Fondly