
I’ve written four posts now on Simple Astrophotography (here, here, here, and here) which use only basic camera equipment that an advanced amateur photographer might have already in hand. The equipment list so far hasn’t included anything other than a modern DSLR (I use a Canon, you could use a Nikon, Sony, whatever), a tripod, a telephoto lens, and a little bit of knowledge about what to look for and how to shoot it.
Now let’s up the game a little bit and start Intermediate Astrophotography using a small telescope. Here’s last night’s setup:

 This is my current “little” telescope, a 5″ Meade ETX-125EC, a Muskatov design telescope.
As you can see in the top picture, it’s portable (more or less) with a heavy-duty mount. The whole thing weighs about forty pound or so. “Luggable” might be a better term than “portable”, but it’s easy enough to take out on short notice to set up on the sidewalk out front. For accurate use and more advanced stargazing and astrophotography a precise alignment is necessary with the yoke (seen going from about the 8 o’clock position to the 2 o’clock position in the bottom picture) pointed straight at Polaris, the North Star. If that alignment is accurate and you power the motor in the telescope mount’s base, the telescope will stay aligned with the stars as the Earth turns. For last night’s work, just “eyeballing it” was fast and “close enough for government work”.
This particular telescope is about a dozen years old. The current models in this size with the heavy-duty mount run a bit less than $2,000. That’s why I don’t expect everyone to have one sitting around in the garage – but if you want to get into this sort of thing, it’s not an outrageous amount either.
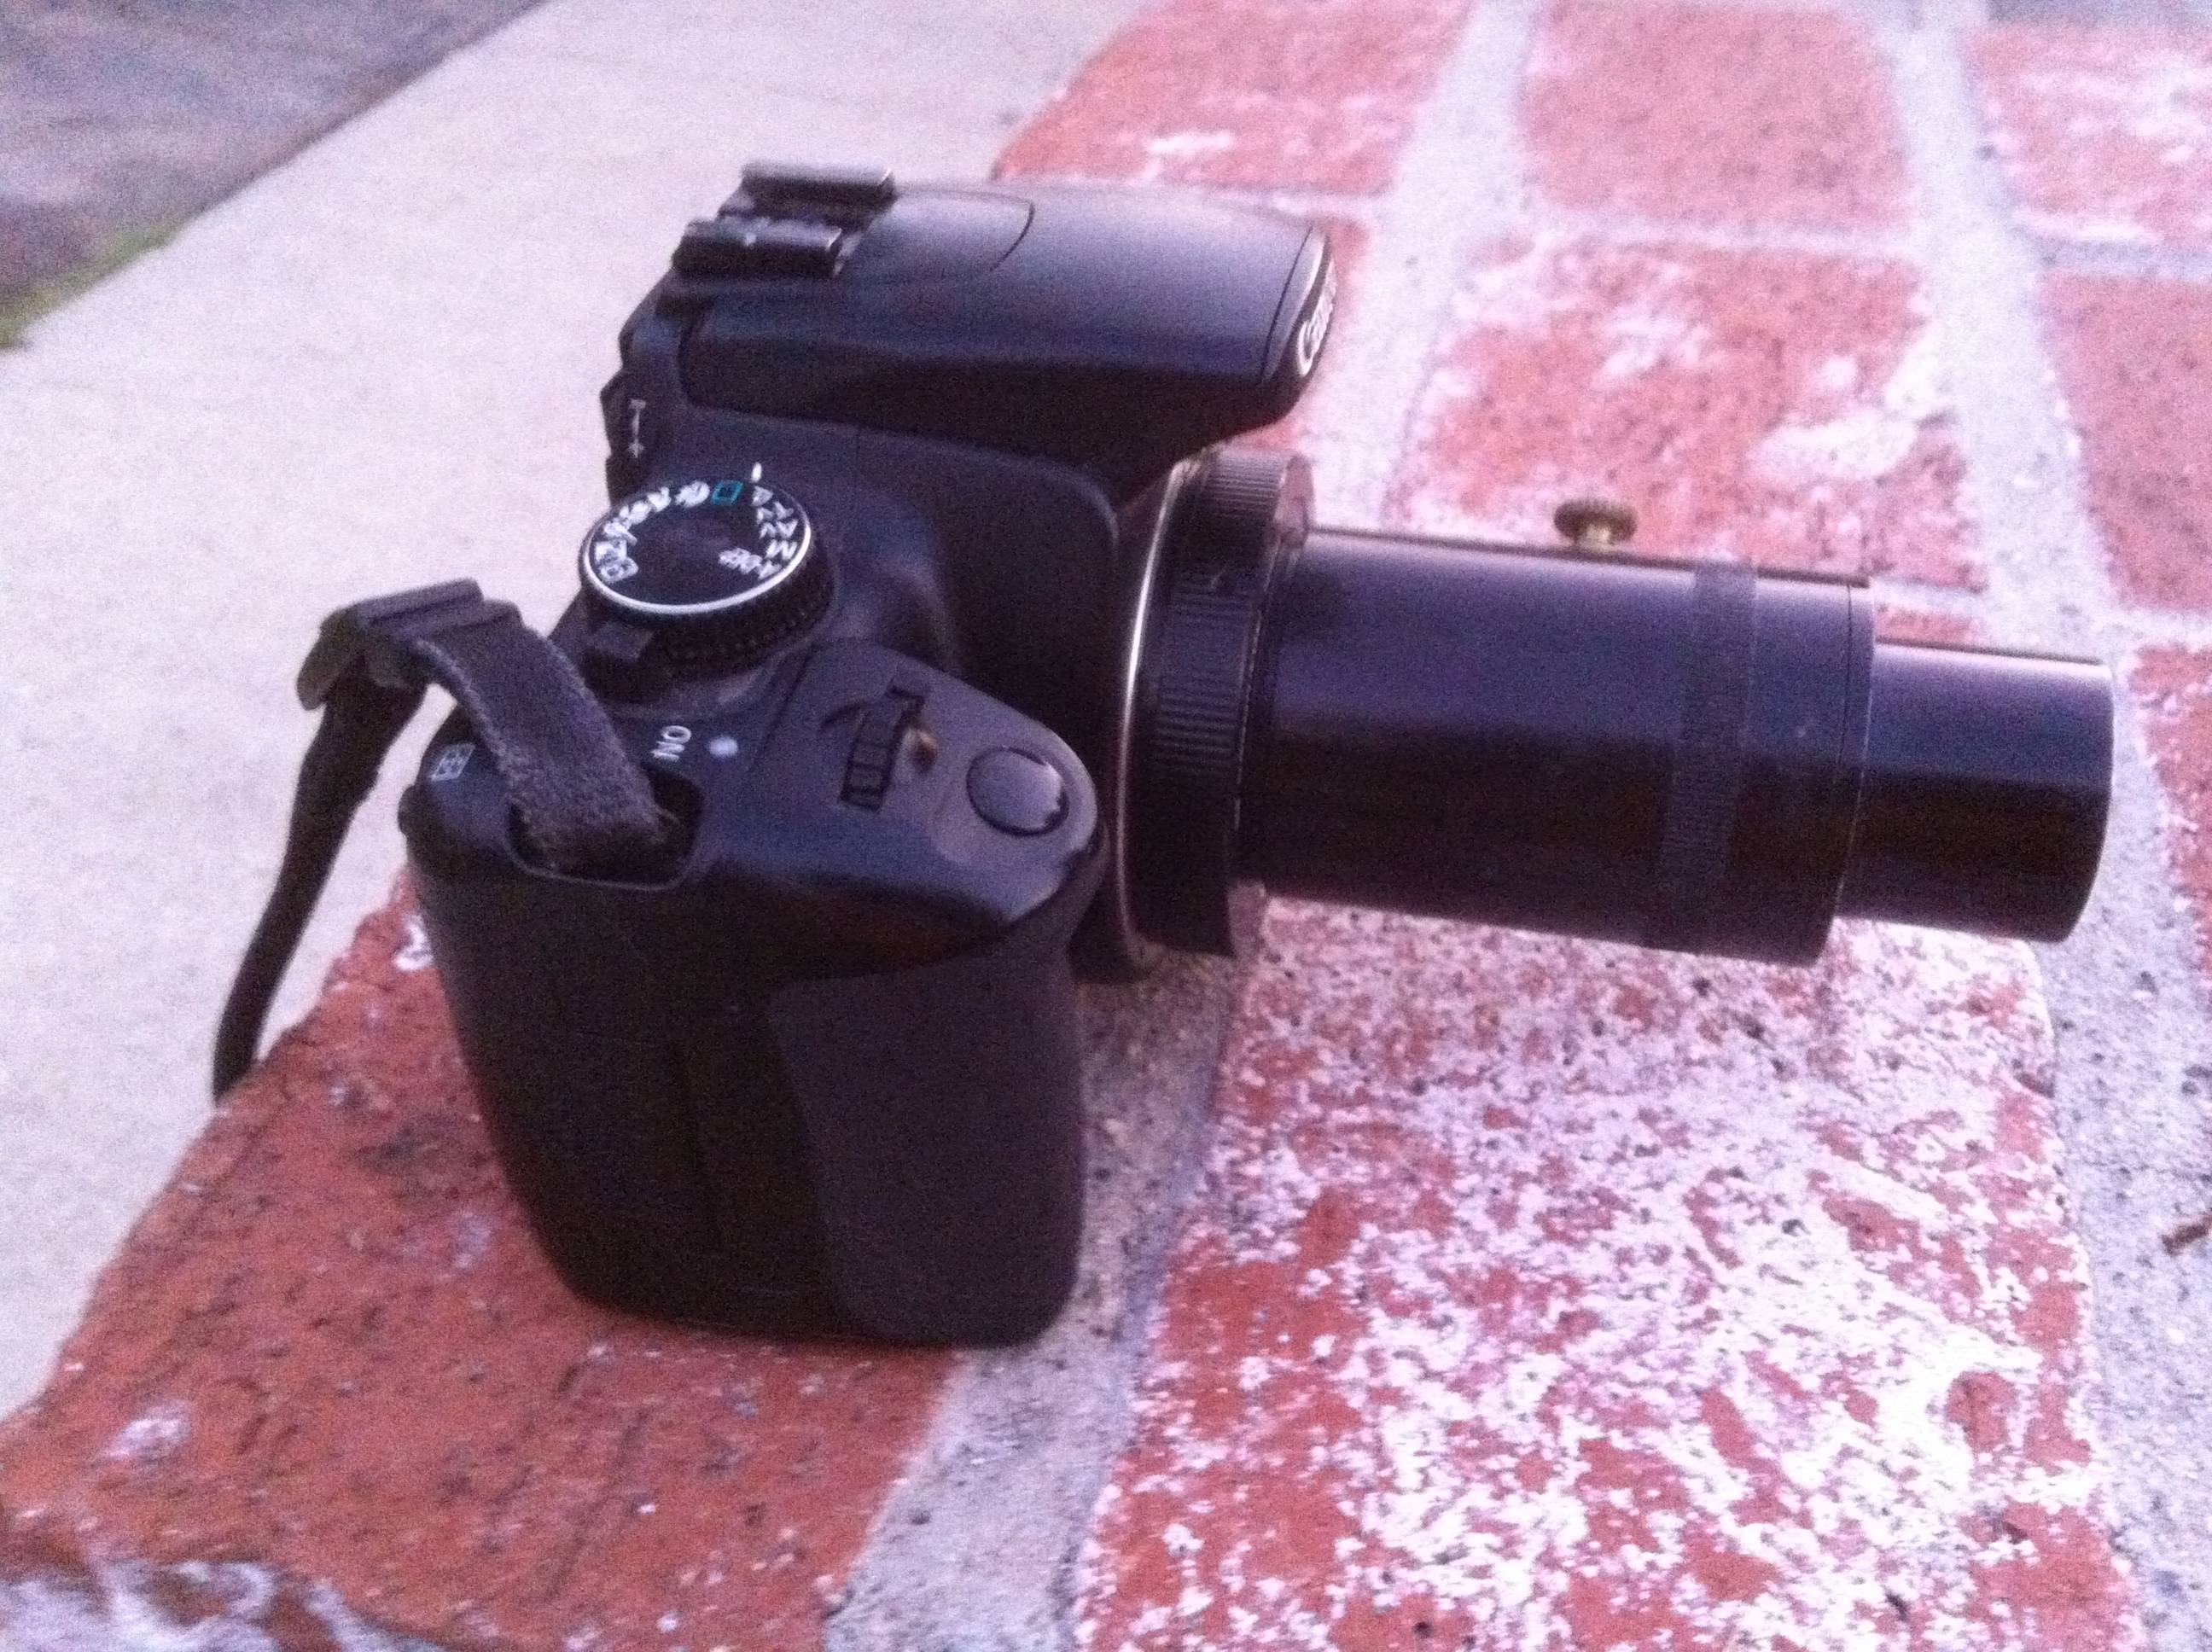 My Canon DSLR will be attached to the telescope using an adapter ring that you can get for about $20 or $30 from any good camera or telescope store. (If you don’t know one, I would recommend Woodland Hills Cameras & Telescope – and every type of DSLR has a different adapter ring, so make sure you get the right one for your camera.) The adapter ring screws into a connecting tube, where the thick portion of the tube can hold an eyepiece for more magnification (that’s advanced astrophotography, not intermediate) and the narrow portion fits into the telescope where the eyepiece normally goes.
For last night’s beginning work, I first wanted to shoot something big, bright, and easy to focus on, i.e., the moon. (I knew how to do all of this twenty-five years ago, but it’s been a while, so we’re revisiting the learning curve just a tad here.)
But first…
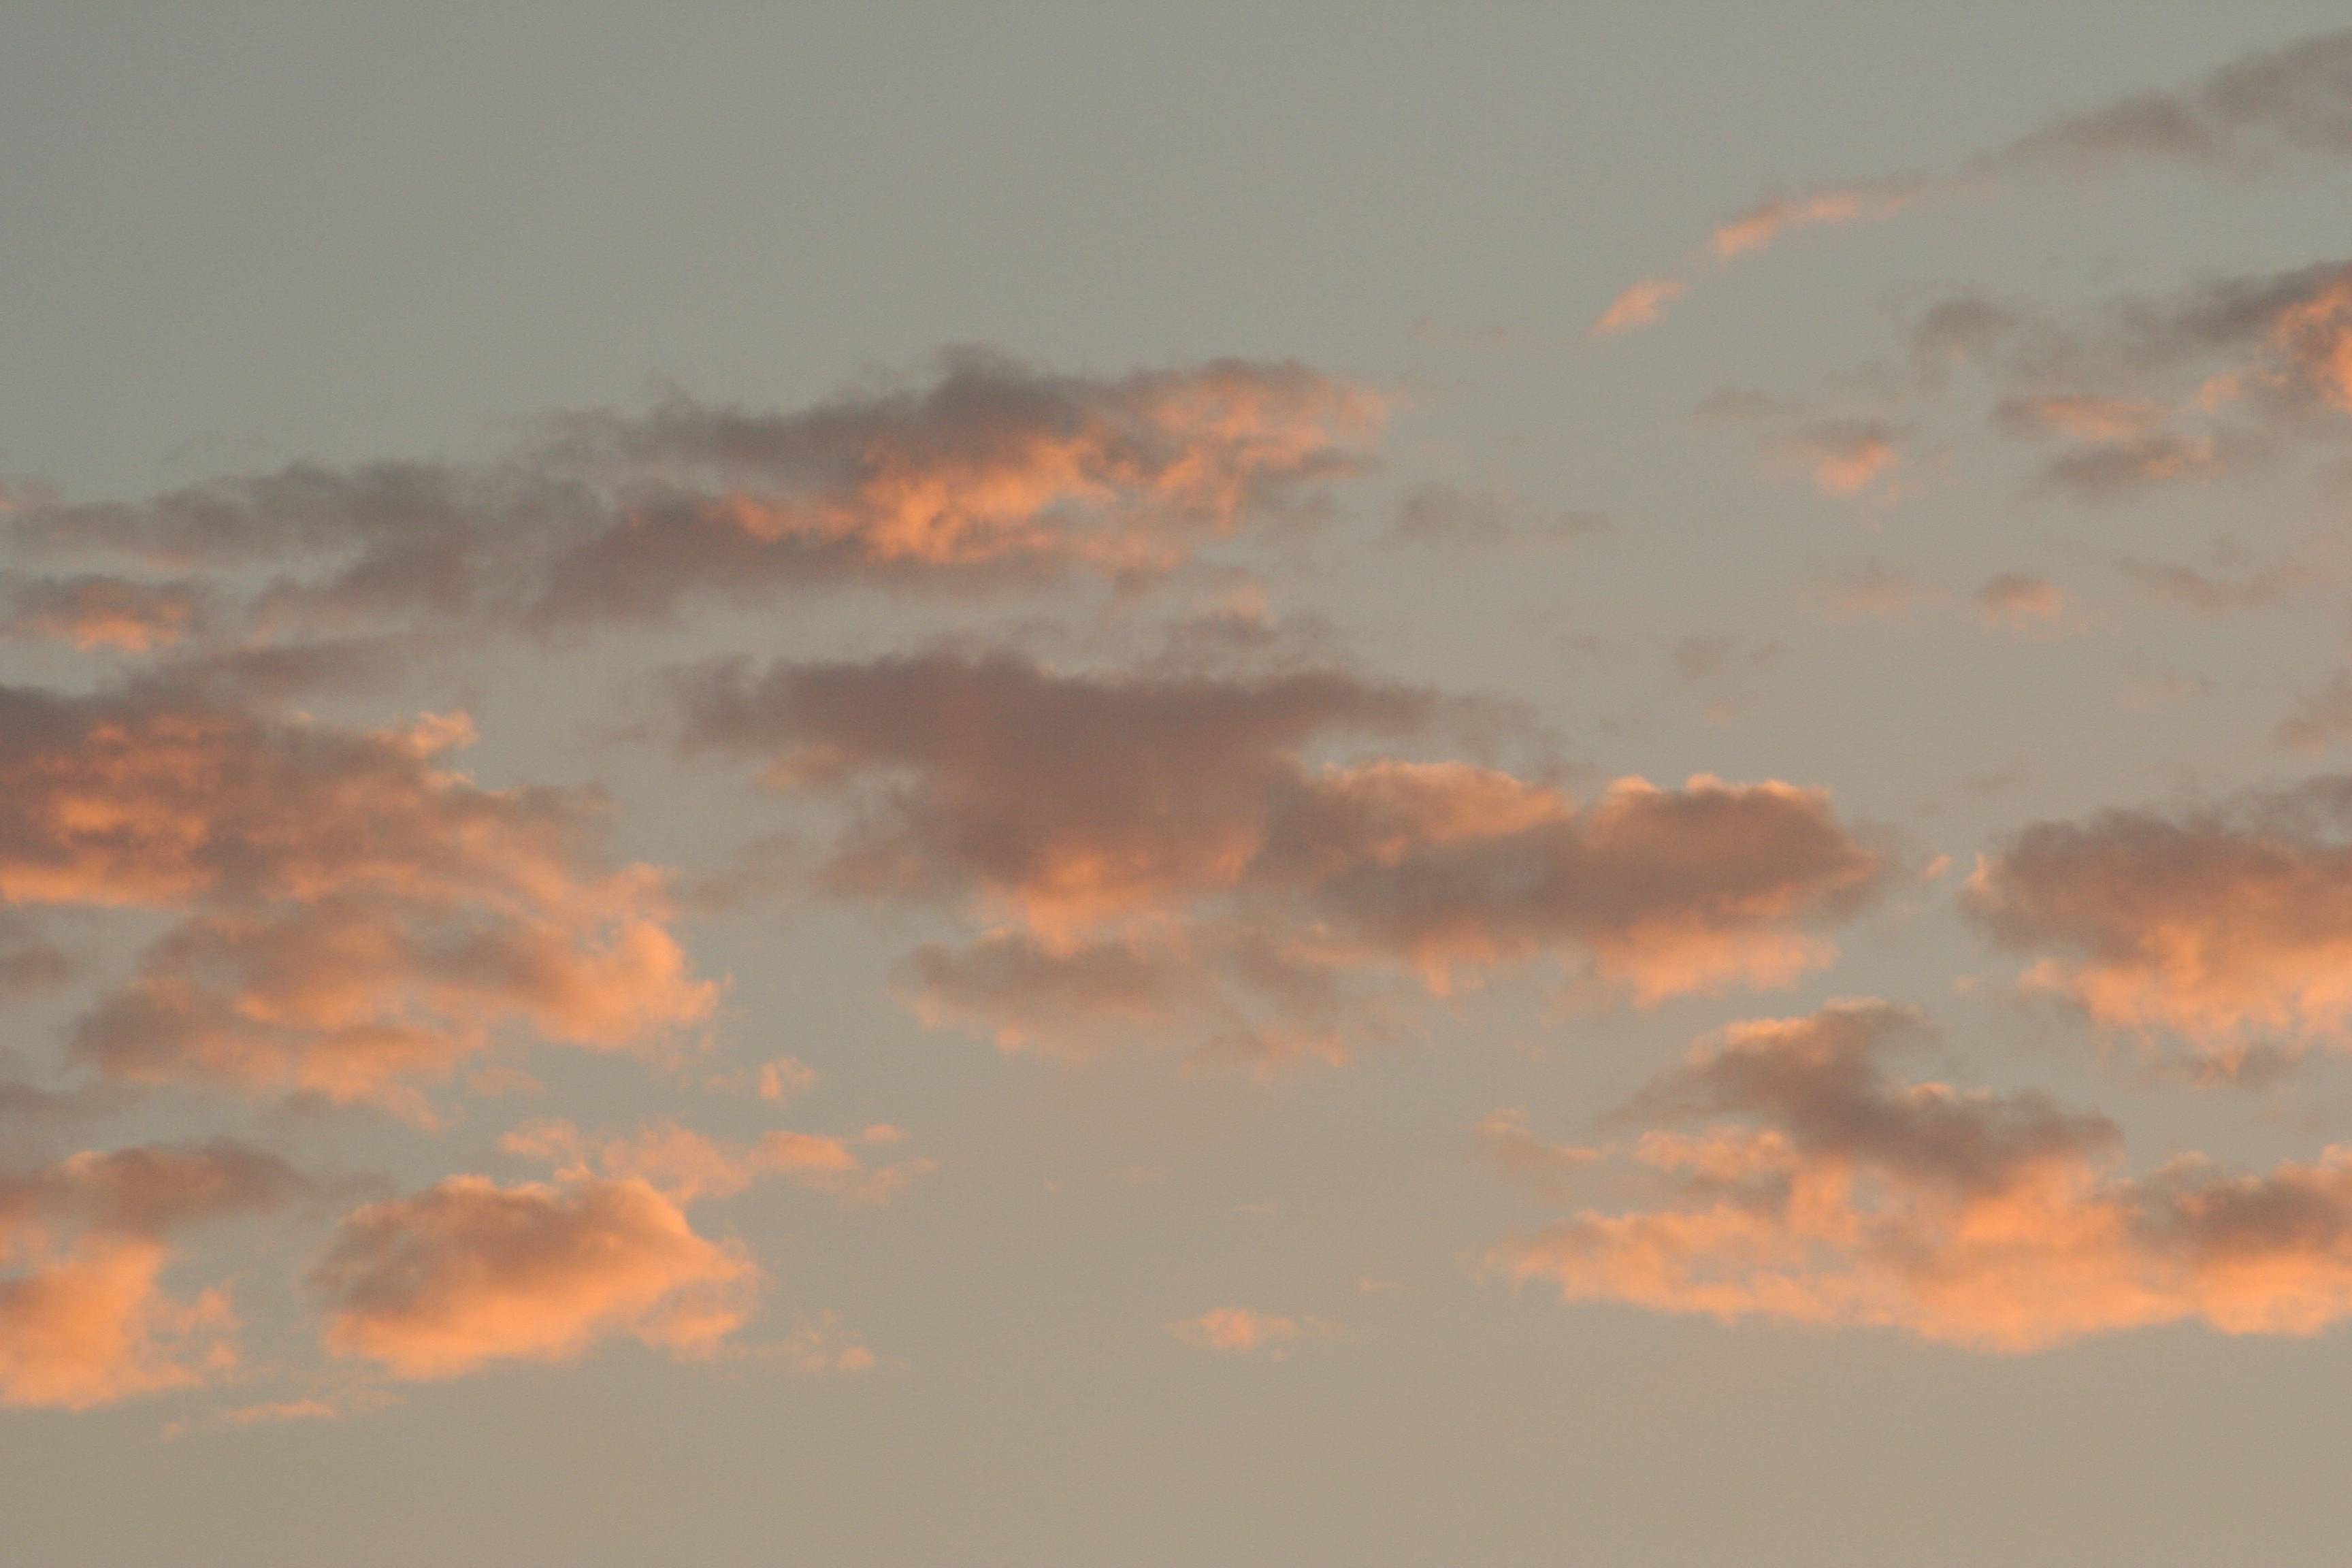
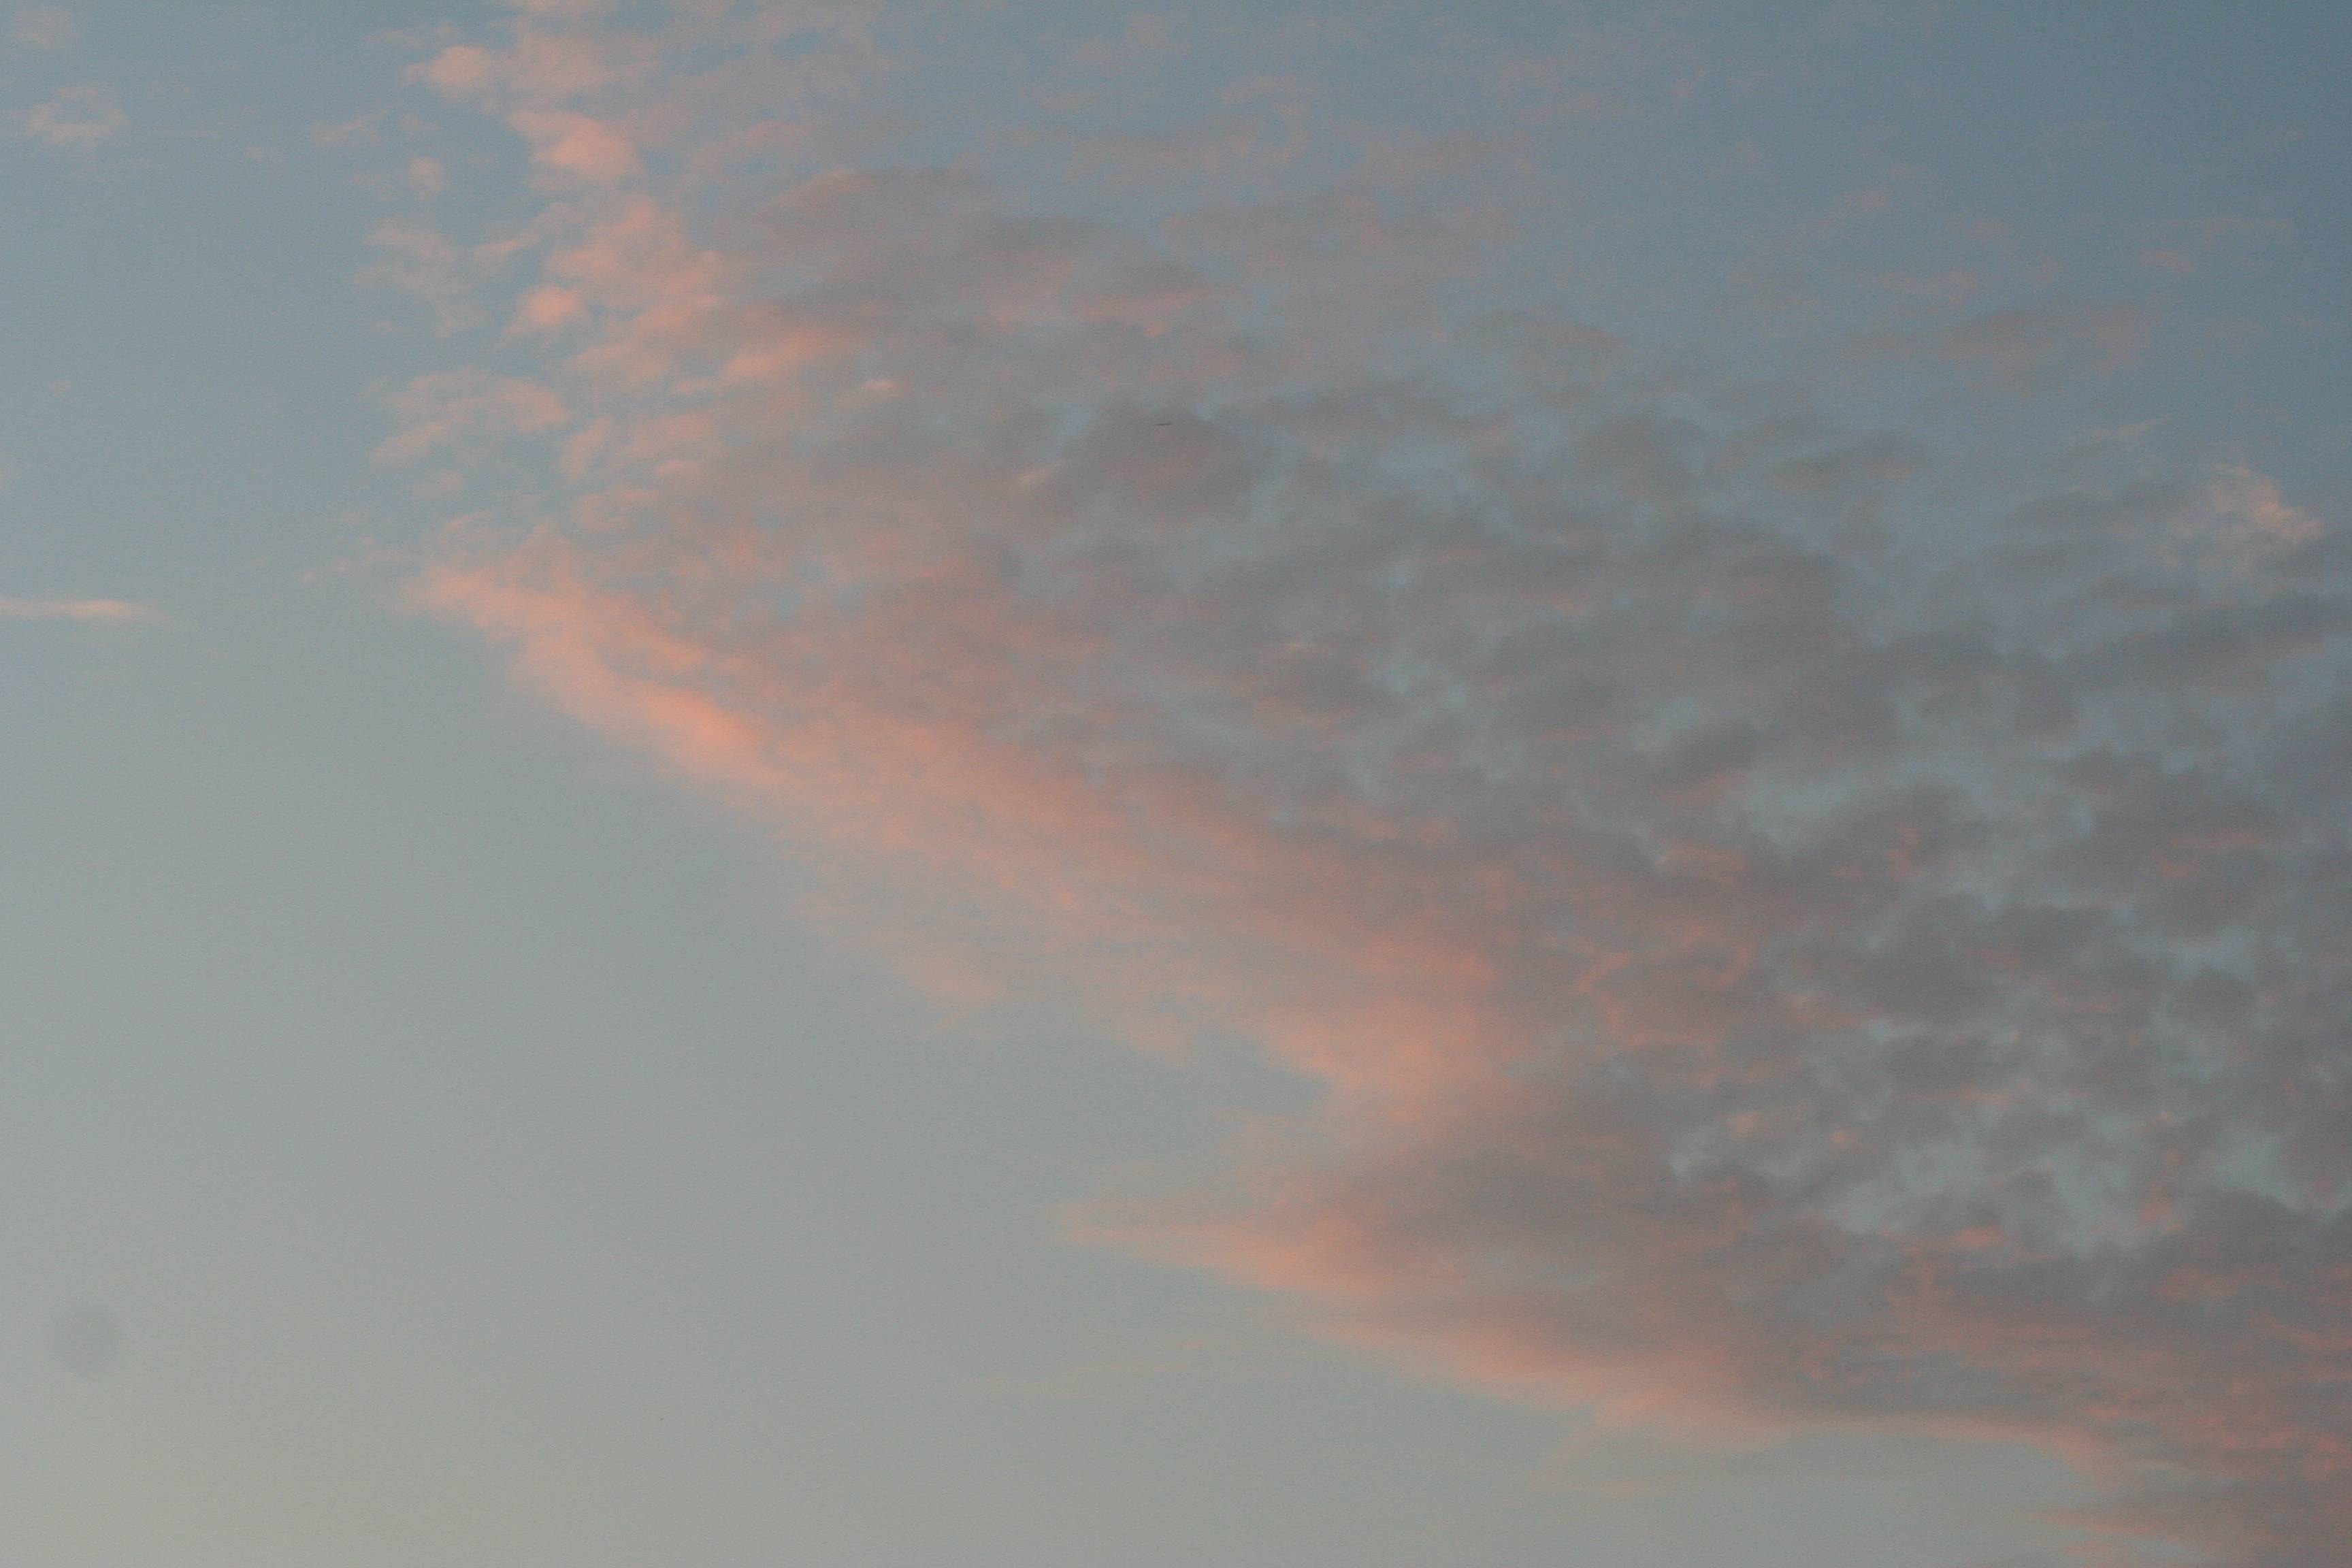
Very pretty, but not good for photographing the moon. On the other hand, considering how bad it looked in the east, north, & south, these clouds in the west weren’t bad. Even with the clouds skipping over the moon and hiding it from time to time, I was able to get the telescope lined up and make sure that the finder scope (seen with its eyepiece sticking off at a 90-degree angle to the left side, above) was properly aligned.
Then it was time to take a couple of quick pictures the “simple” way, using just the telephoto lens, for reference:
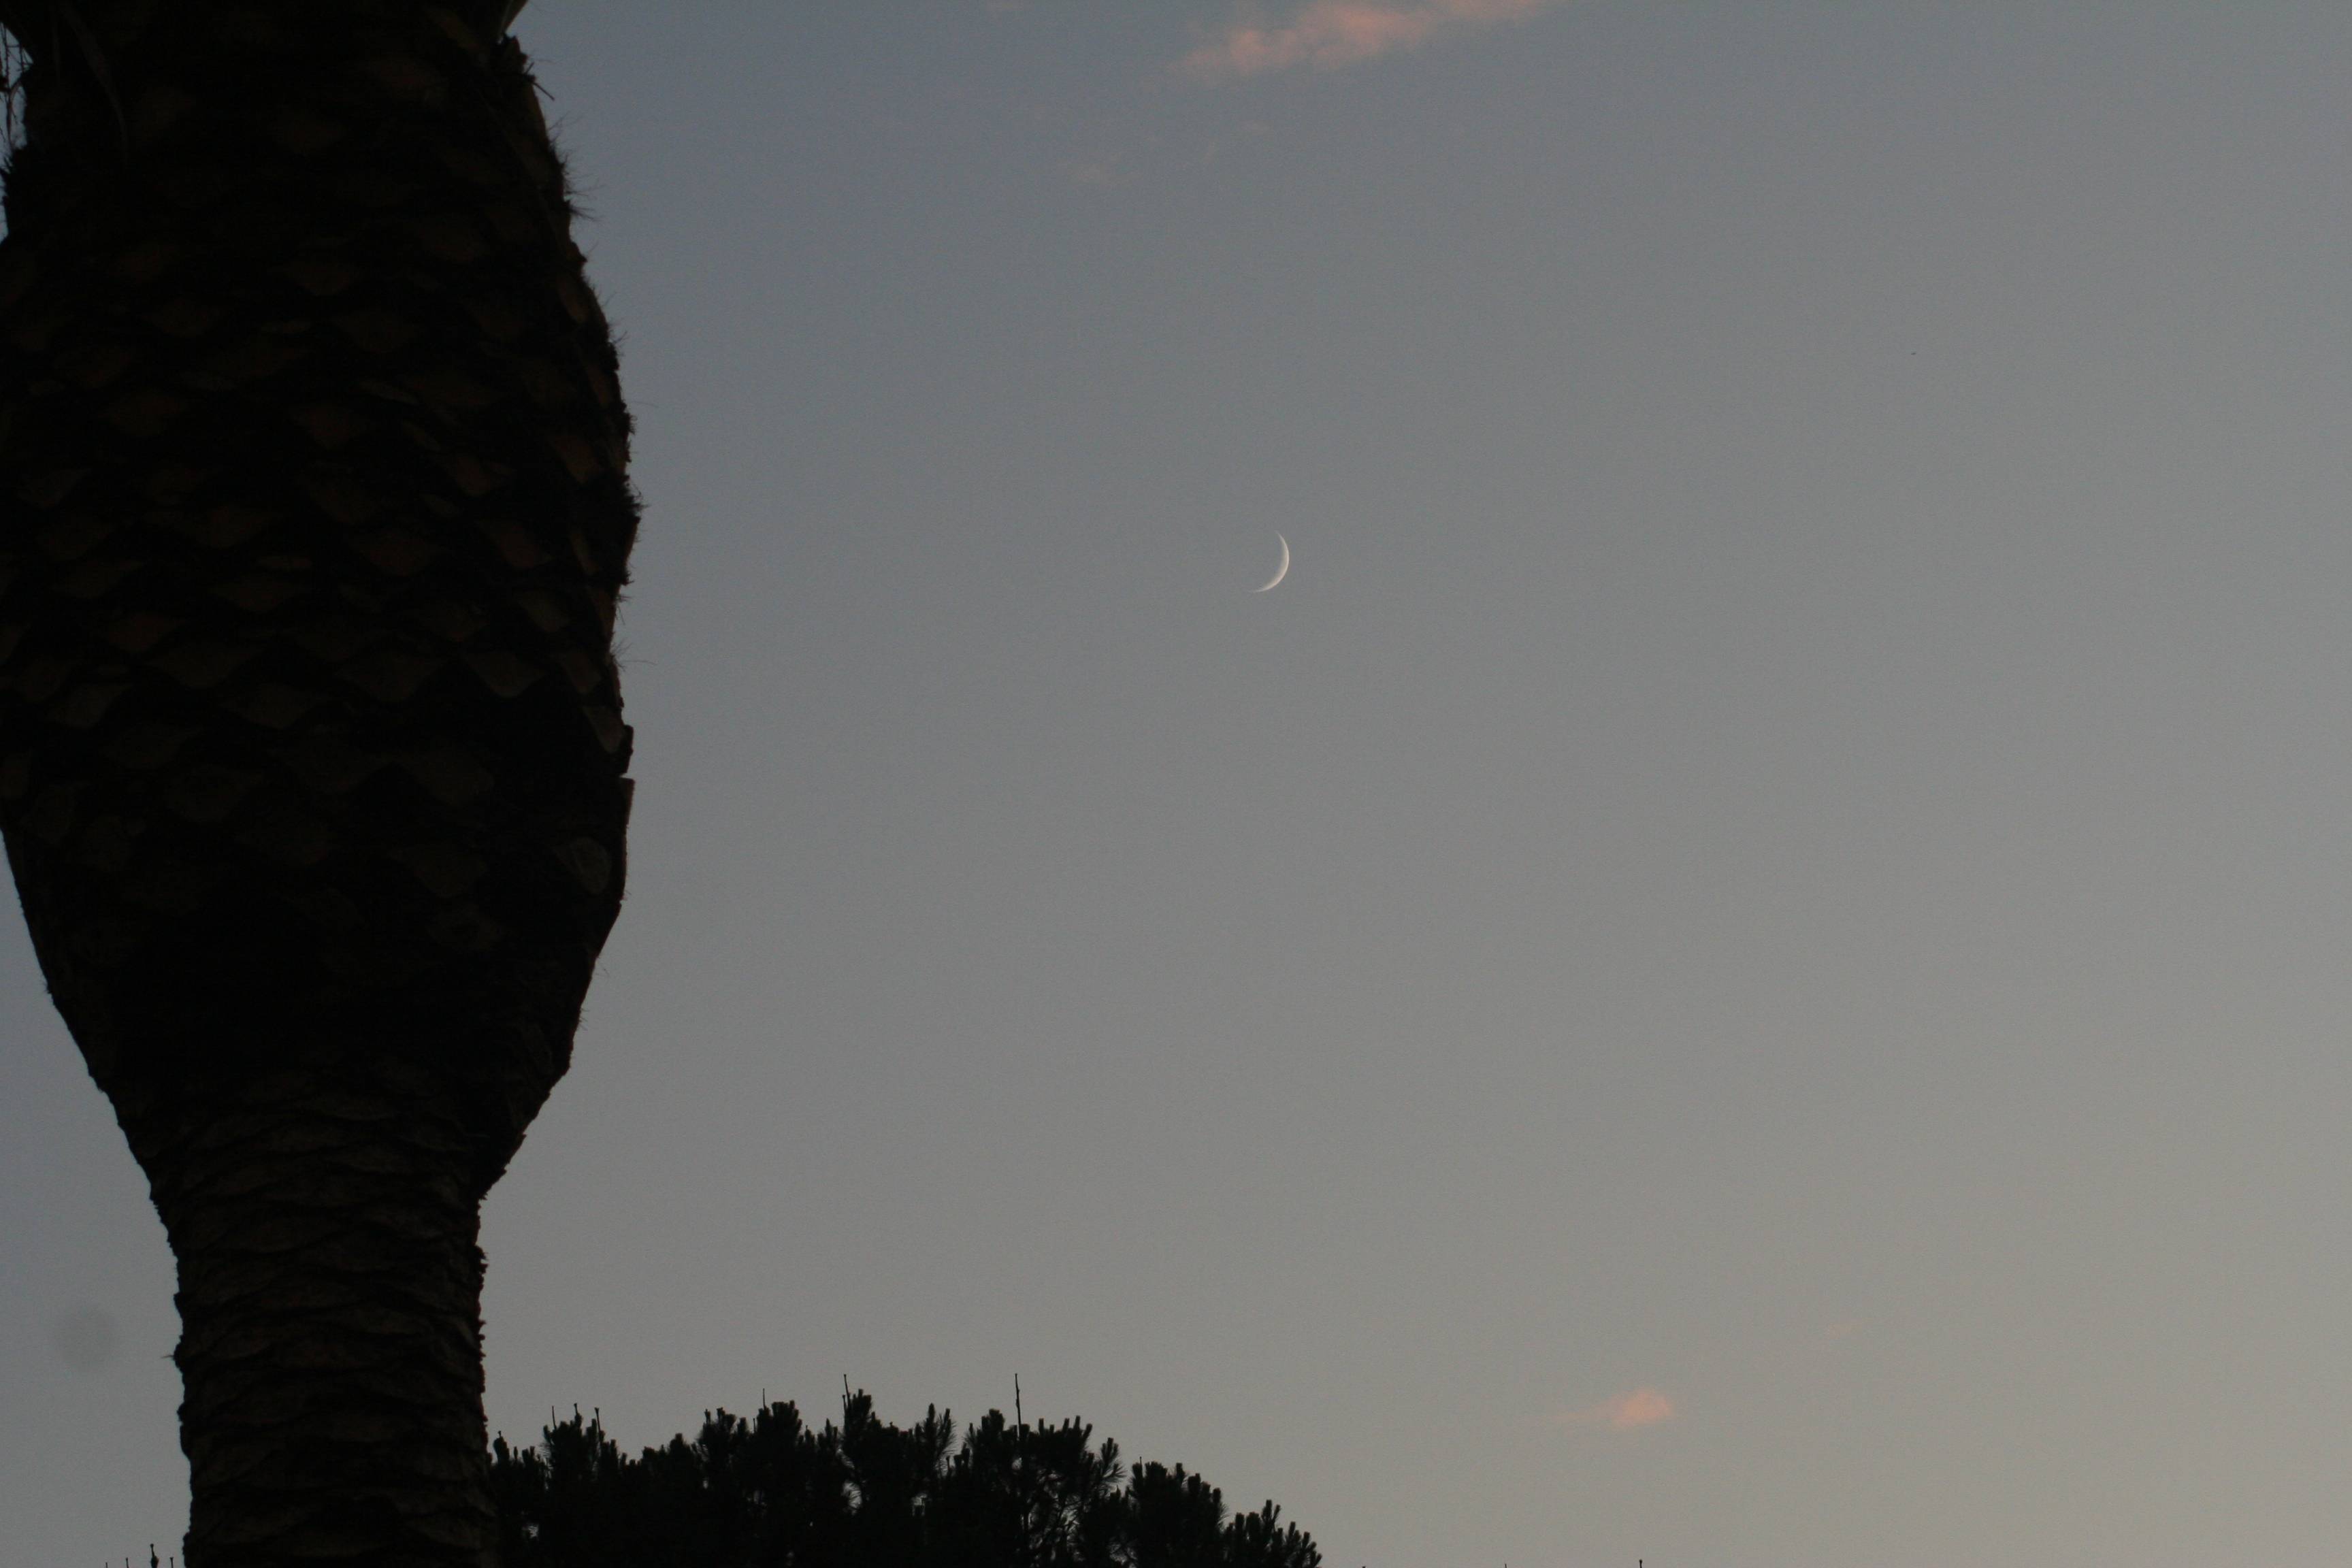 Using the telephoto lens at 70mm, you can see the crescent moon, three days old and 13% illuminated.
 Using the telephoto lens at 300mm you can start to see a bit of detail, maybe a few craters or maria on the terminator. However, the moon only fills a small fraction of the frame of the picture.
As it got darker and I started to try to use the telescope, of course, the clouds got thicker. At first I was getting nowhere with the DSLR attached to the camera, so I took the camera off and put in a 25mm (low power) eyepiece. Even with the clouds drifting in and out, this will give you a gorgeous view of the moon, the moon’s disk just about filling the low-power field of view through the telescope.
It occurred to me that there was an intermediate intermediate step before I got the DSLR camera working correctly on the telescope. And you can try this (with the telescope owner’s permission in advance, of course!) if you’re at a star party or someplace where someone has set up a telescope, or even a pair of binoculars.
With the telescope focused and aligned, I tried simply holding my iPhone camera up to the lens and seeing if the iPhone would see what my eye saw and photograph it:
 To my surprise and amazement, it sort of did!
You’ll notice that the image shows some serious vignetting, where the full frame of the iPhone photograph only picks up a central, circular image from the telescope eyepiece. (You’ll also notice that there was a wisp of cloud across the top third of the moon, from center left to upper right.)
But you can also see a lot of detail, especially along the terminator. I was surprised, but pleased that I at least had something to show for my efforts!
Then the clouds cleared a bit, I put the camera back on the telescope, figured out what I had been doing wrong, and finally:
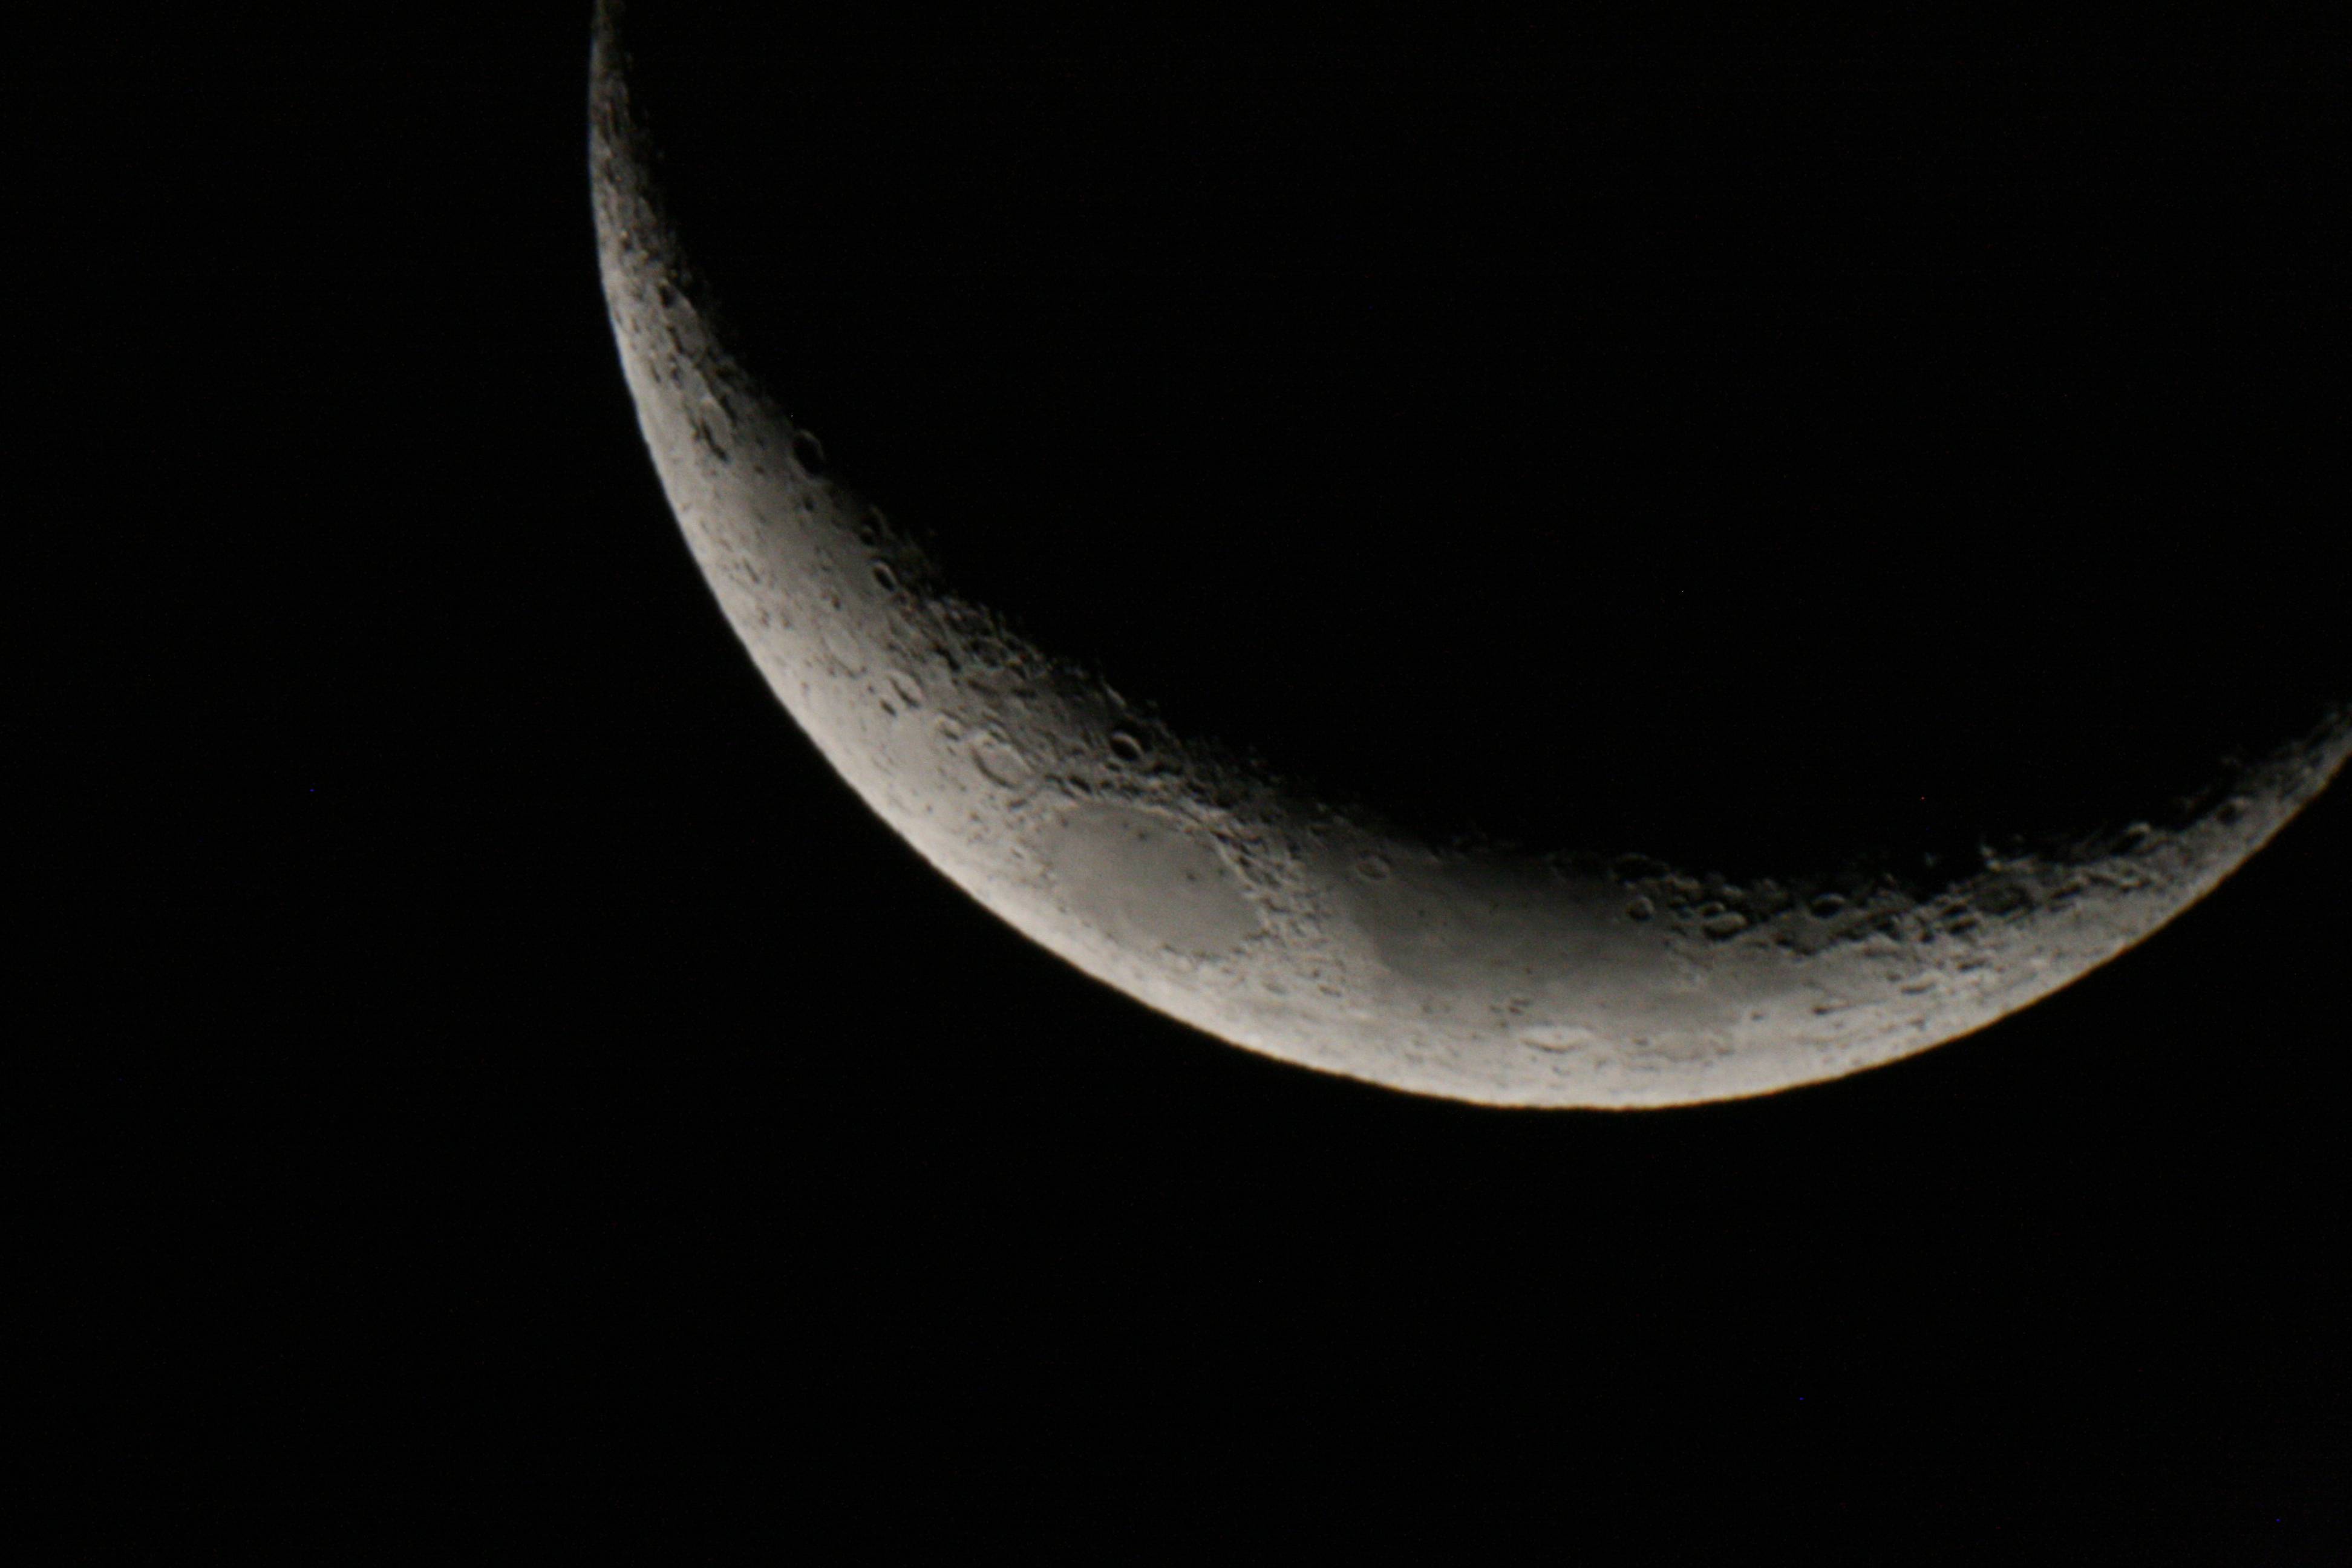 1/30 second exposure
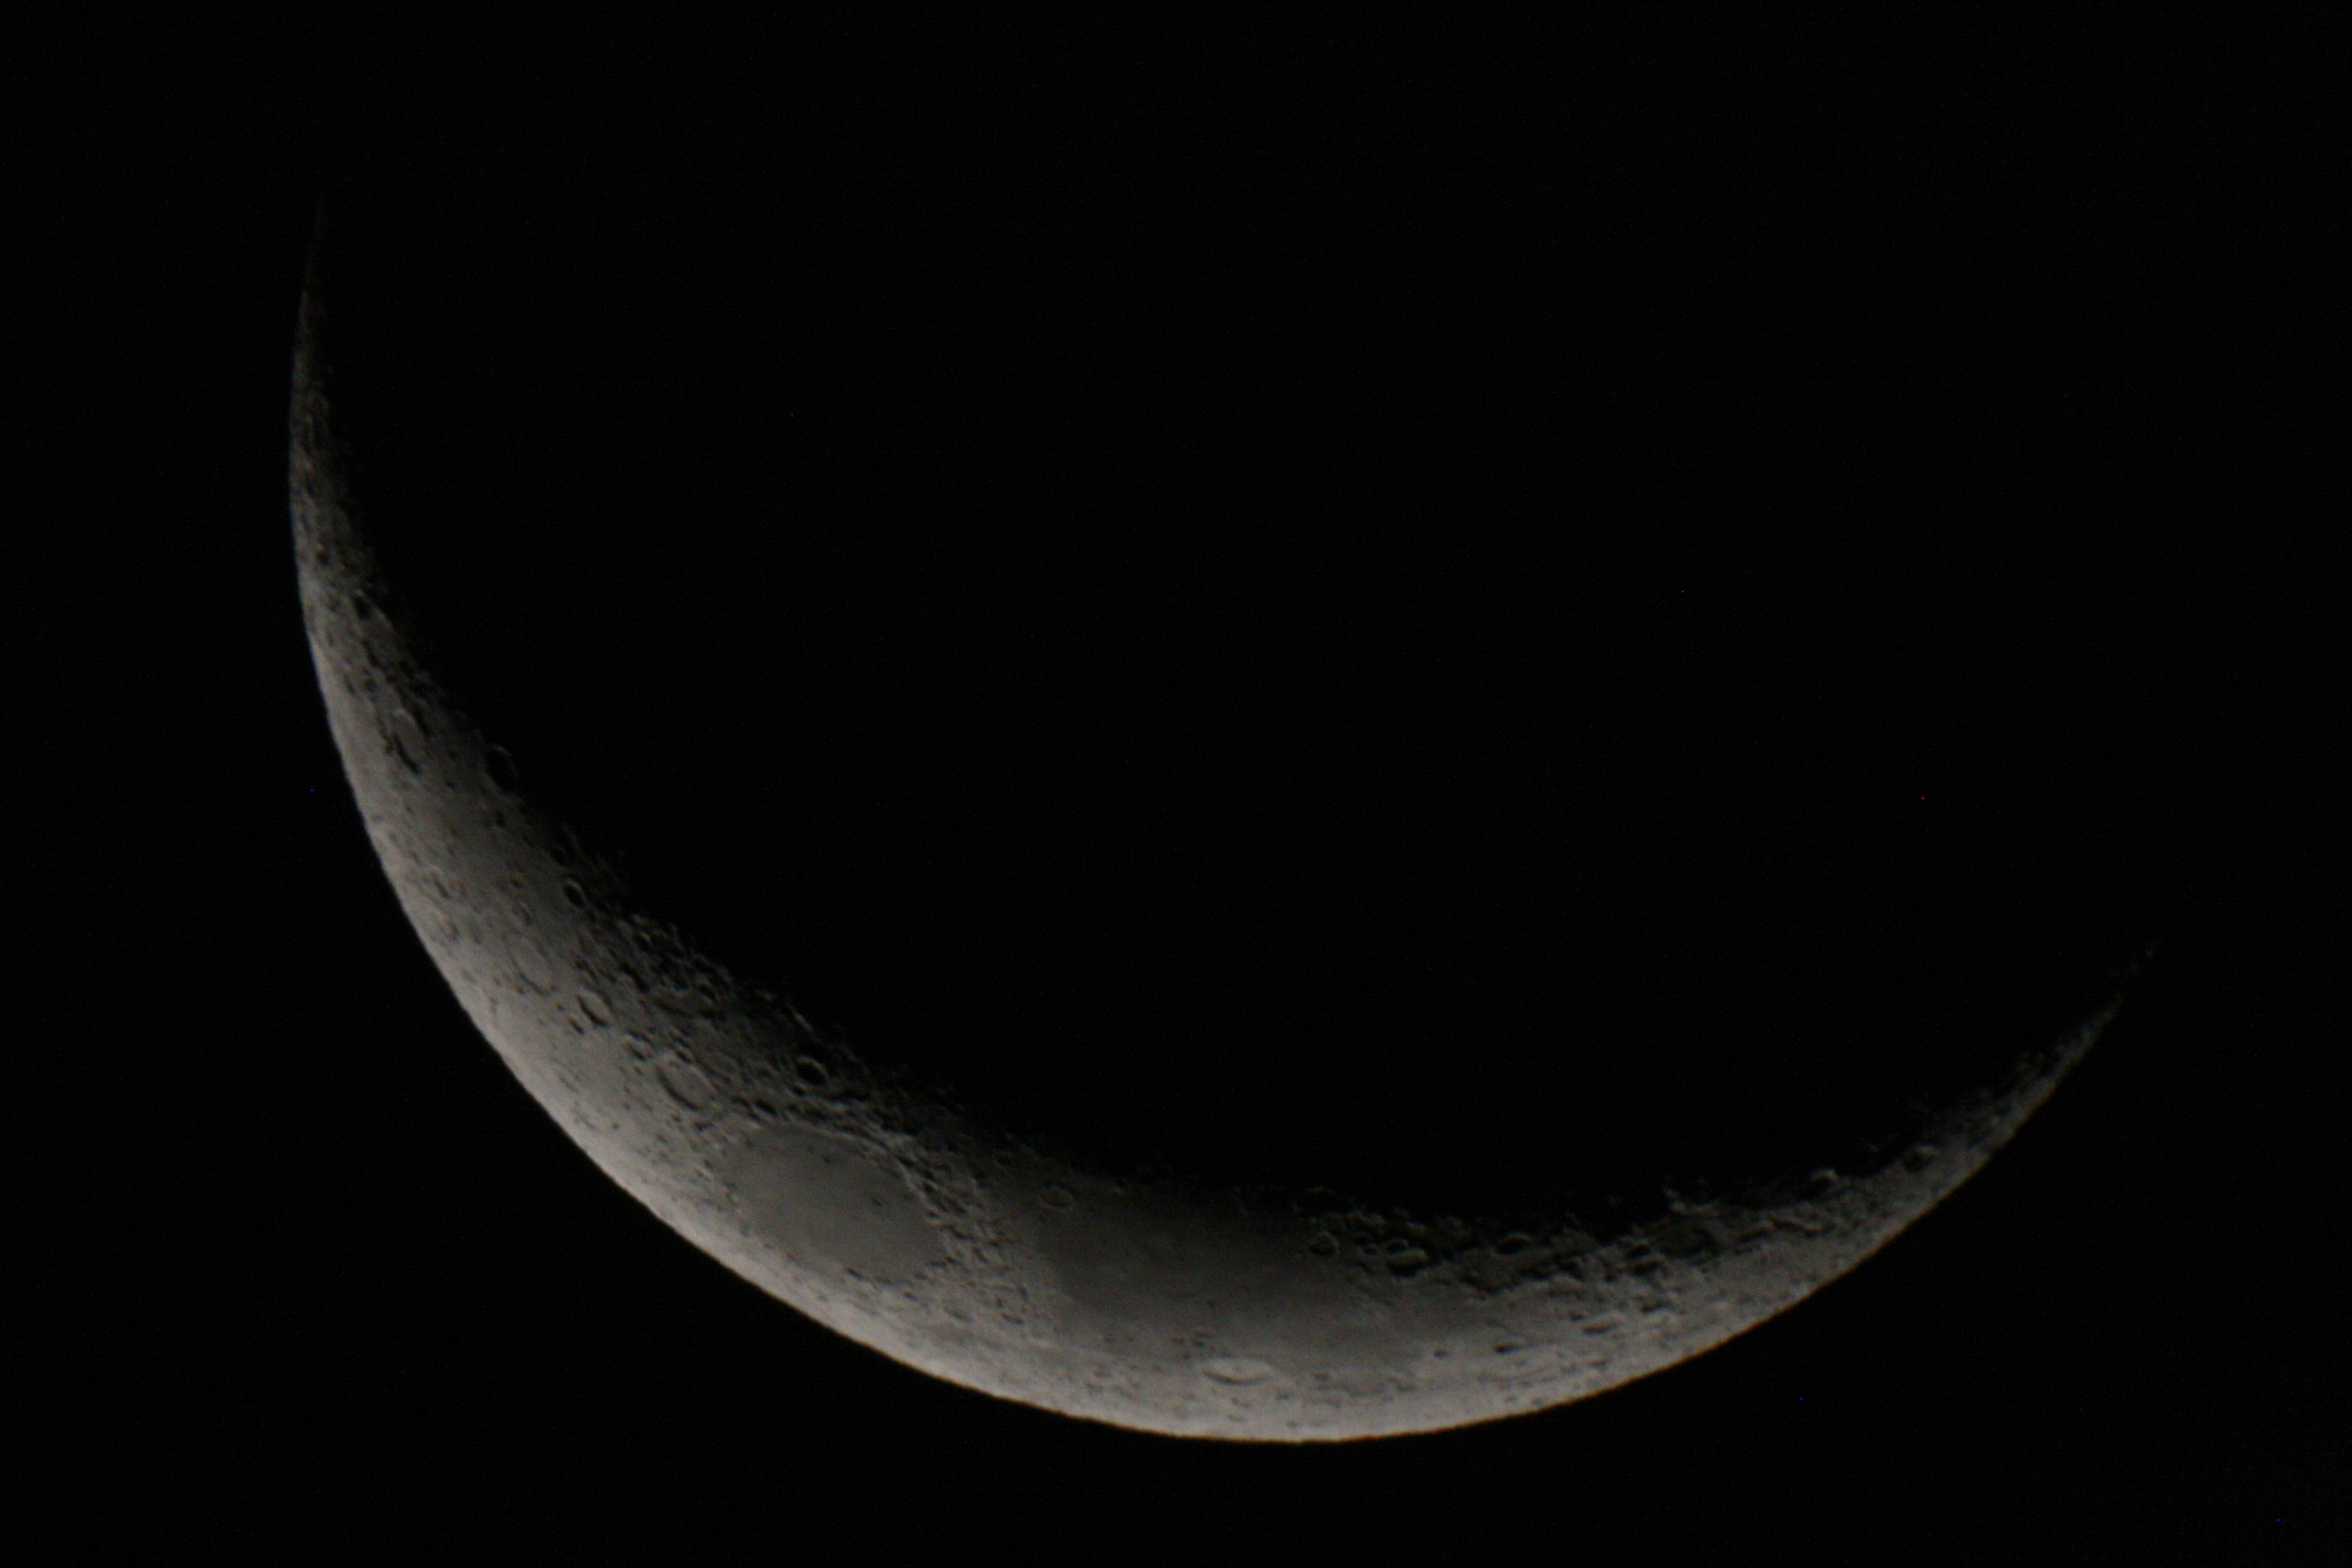 1/60 second exposure
 1/25 second exposure
The focus was pretty good, although it might get better with more practice. You can see how these three shots with slightly different exposures have different tradeoffs between overexposing the bright limb and underexposing the dark terminator line. When shooting pictures of the moon, you’ll have a huge dynamic range to deal with. (Again, DIGITAL PICTURES ARE CHEAP! These were the best three of dozens and dozens of pictures taken, bracketing the exposures both darker and lighter.)
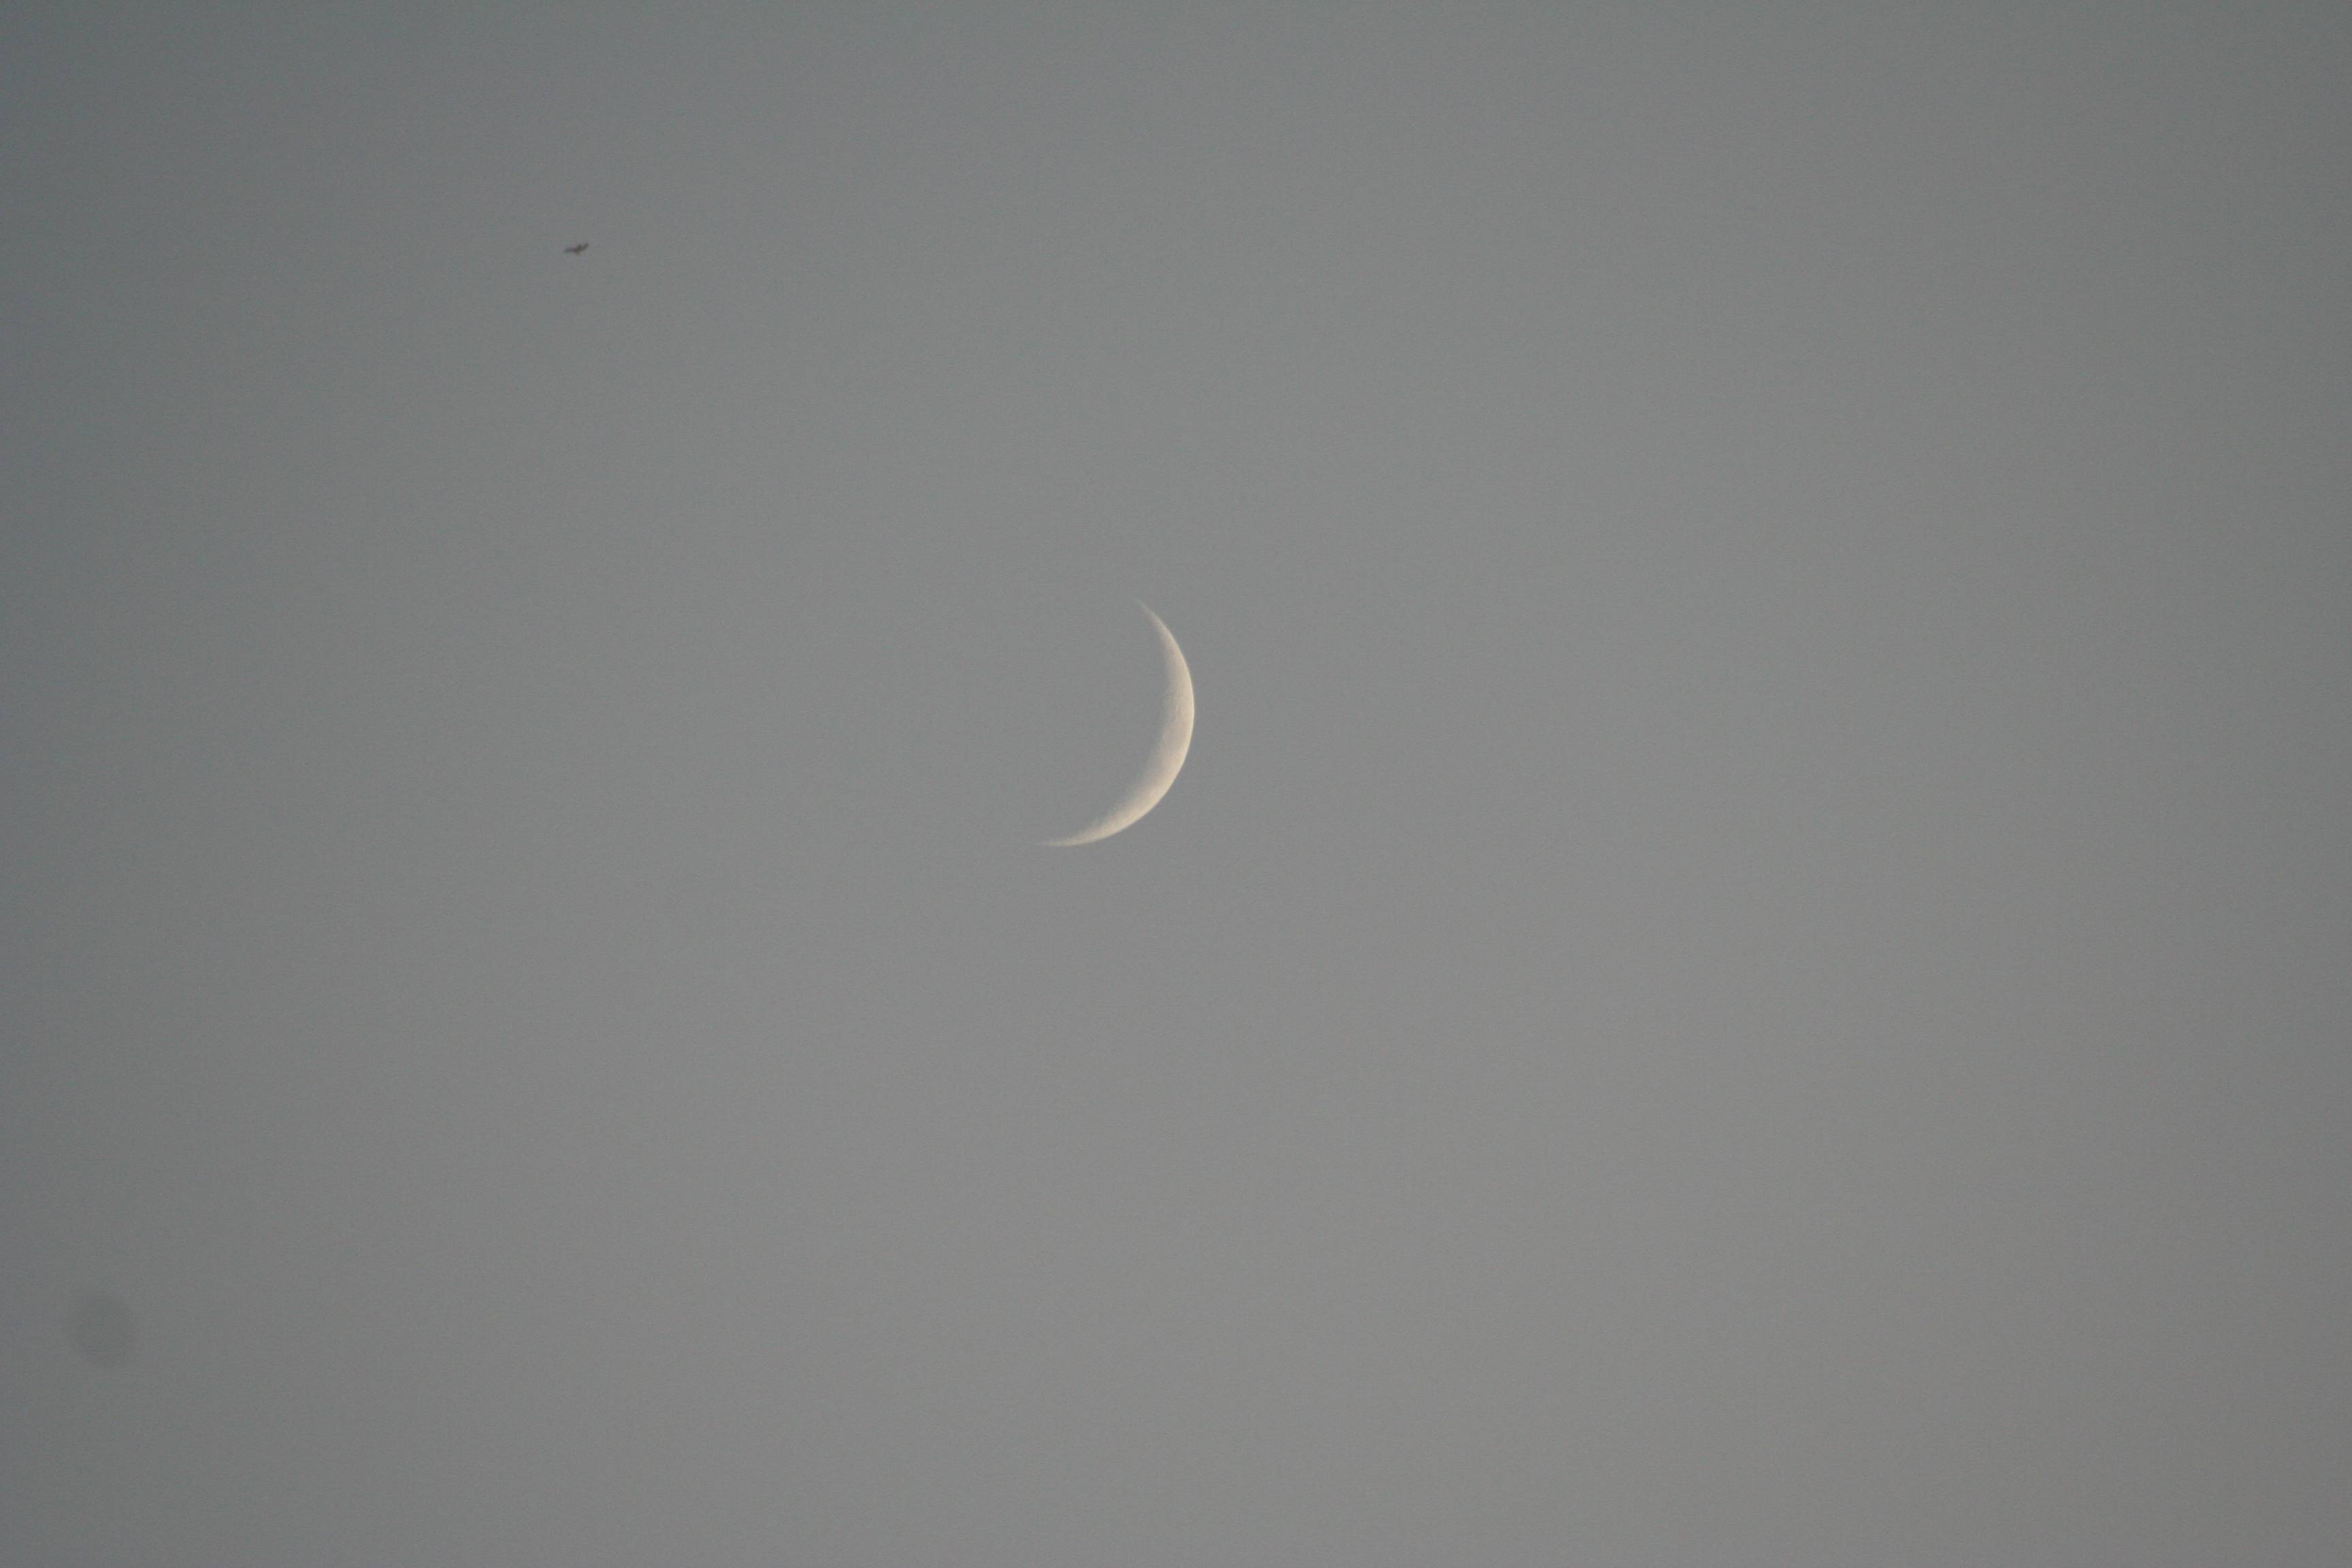
And finally, not the most in focus or well exposed picture of the night, but possibly the luckiest:
 1/30 second exposure, but what’s that little red line on the left? (You will probably have to click on the image to view or download the full-sized picture.) Odds are that it’s a 747 headed from Dallas to Honolulu, about 250,00 miles closer than the big planetary body in the background.
That was great! Will it be clear tonight? I’ll let you know tomorrow.
